This weekend we are blog hopping with our guest designer Jen Goode! If you have just come from Jennie Garcia’s blog you are on the right track! If not, go back to the beginning on the Tombow Blog for a chance to win a fabulous prize set of Bright Tombow Markers!
Do you have an ornament exchange party this season? Here’s a great project that I created and made 15 in 1 evening with the help of Tombow Adhesives!
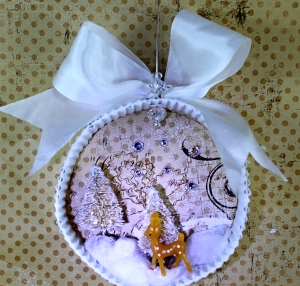
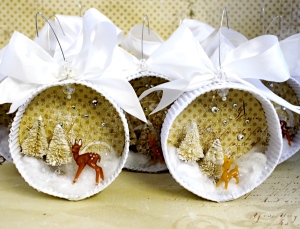
Here is the finished shadow box ornament.
Here are the Tombow Products you will need:
- Xtreme Adhesive
- Mono Multi Liquid glue
- Mono Aqua Liquid glue
- Power Tabs
- Dual Brush Pens to color stampings
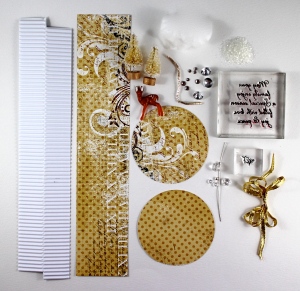
Here’s the supplies you need to make ONE ornament:
- one 10″ x 2″ piece of corrugated cardboard – with 1/2″ notches at each end and scored in half (see photo above for grain direction)
- one 10″ x 2″ and two 3″ circles cut from decorative cardstock (paper from Bo Bunny)
- one cotton ball
- rhinestones – variety of sizes
- glitter (Art Institute Glitter)
- Scene elements – I used two miniature bottle brush trees and a deer
- Stamps to add a sentiment to the back (sample from Stampendous)
- Beaded hanger – 3″ headpin and beads
- Ribbon Bow (I show a gold bow here but ended up using a white bow!) Ribbon from May Arts
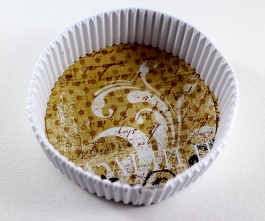
Step 1: Using the Xtreme Adhesive , (Xtreme is a perfect choice for quick, strong adhesion!) glue the decorative paper panel into the folded corrugated piece. Fringe cut the decorative paper every 1/4″
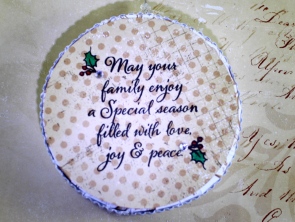
Step 2: Before going to the next step, stamp and color one of the circle pieces using the Dual Brush Pens.This will be the back of the ornament.
Step 3: Form the shadow box into a circle and glue ends together using the Mono Multi. Use a clothespin to hold while drying. Fold in the fringes and using the Mono Multi, glue the circles to the inside and back to form the circular shadow box. With the shadow box made, I then glued in rhinestones on both sides using the Mono Multi (the fine tip is easy to control to make tiny drops of glue).
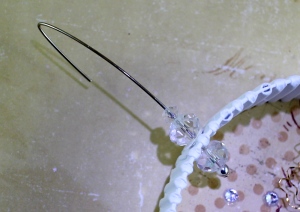
Step 4: Create the beaded hanger by punching a tiny hole at the top of the shadow box. Add some beads to the headpin, then place through the hole. Continue to add a few more beads. Add a tiny drop of Mono Multi Glue in-between each bead. Fold the top of the headpin to form the hanger.
Step 5: I added glitter to the trees by rolling them in a puddle of Aqua Glue and then sprinkling on the glitter. (Aqua is my main go-to glue for adding glitter!) The glittery forest was so pretty!
Step 6: Build your scene! Tear apart the cotton ball and drizzle some Aqua Glue on. Mix it gently by pulling the cotton apart and place into the shadow box (yes, I know, a little messy but Aqua washes away easily with a wet wipe).Glue in the trees and the deer with the Multi Glue. Sprinkle on some glitter and set aside to dry.
Step 7: Add a bow to the top with a Power Tab and you’re finished! The Tombow Adhesives allowed me to speed through this project with great results! Make sure you ask Santa for your favorite Adhesives this holiday!
In order to be qualified to win this amazing PRIZE,Tombow’s Dual Brush Pen Bright Set, PLEASE comment on each of the designers projects. We will announce a winner Monday, November 17. Now go to our guest designer Jen Goode’s Blog to see what she has created for you!
