Marie Browning

"Inspiring and honoring creativity"

Parks and Recreation Blog Hop September 26, 2014

IMG_1239


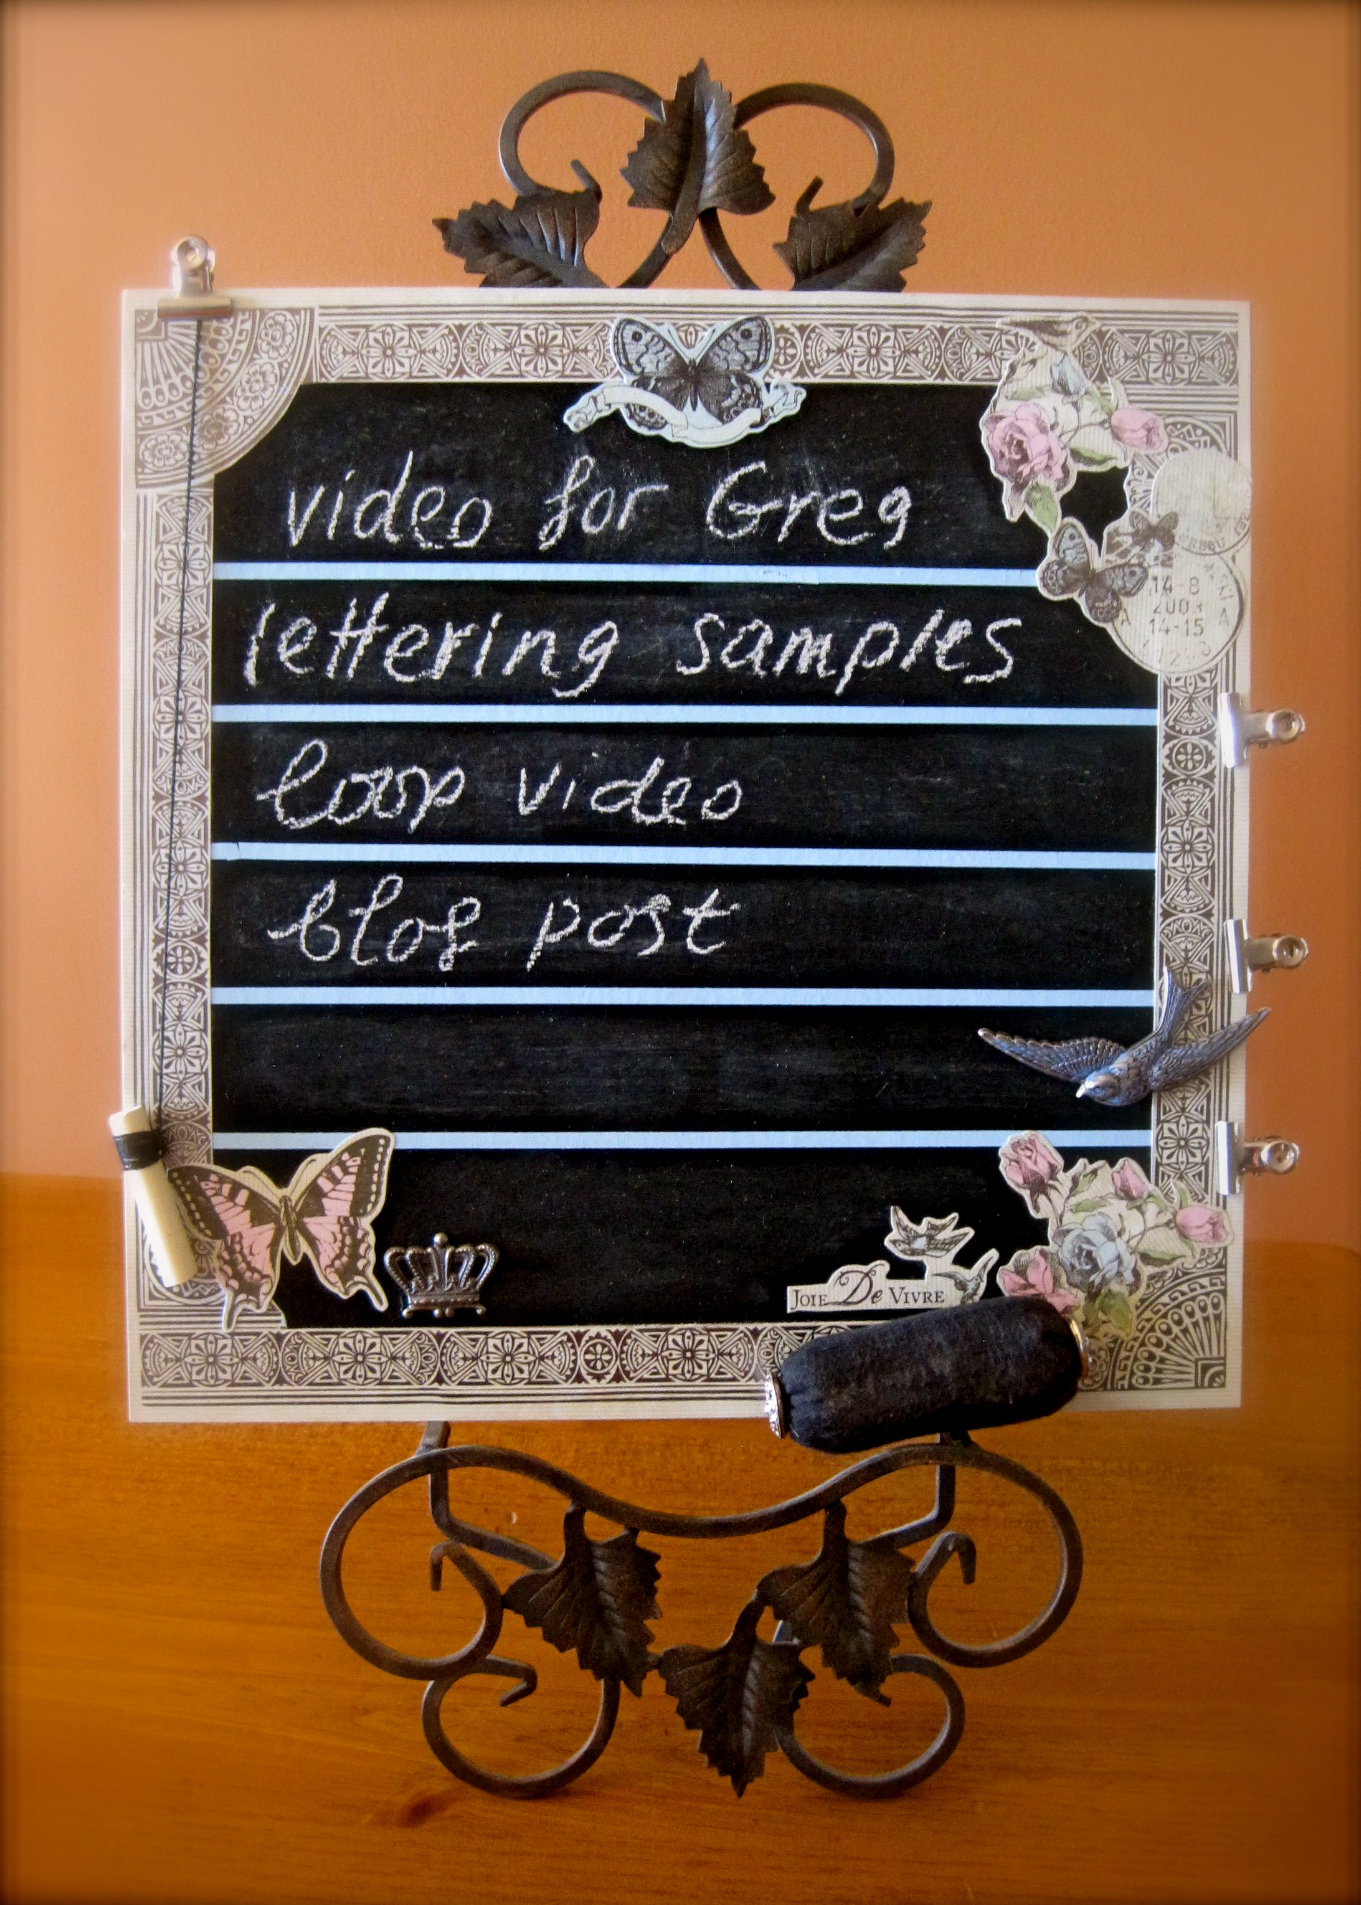
Welcome to Hydrangea Hippo’s Parks and Recreation Blog Hop! I created a personalized clip board; what every recreational programmer needs (especially if you have political aspirations!) using Fancy Pants’ Timbergrove Collection and Tombow Adhesives.

IMG_1242IMG_1243


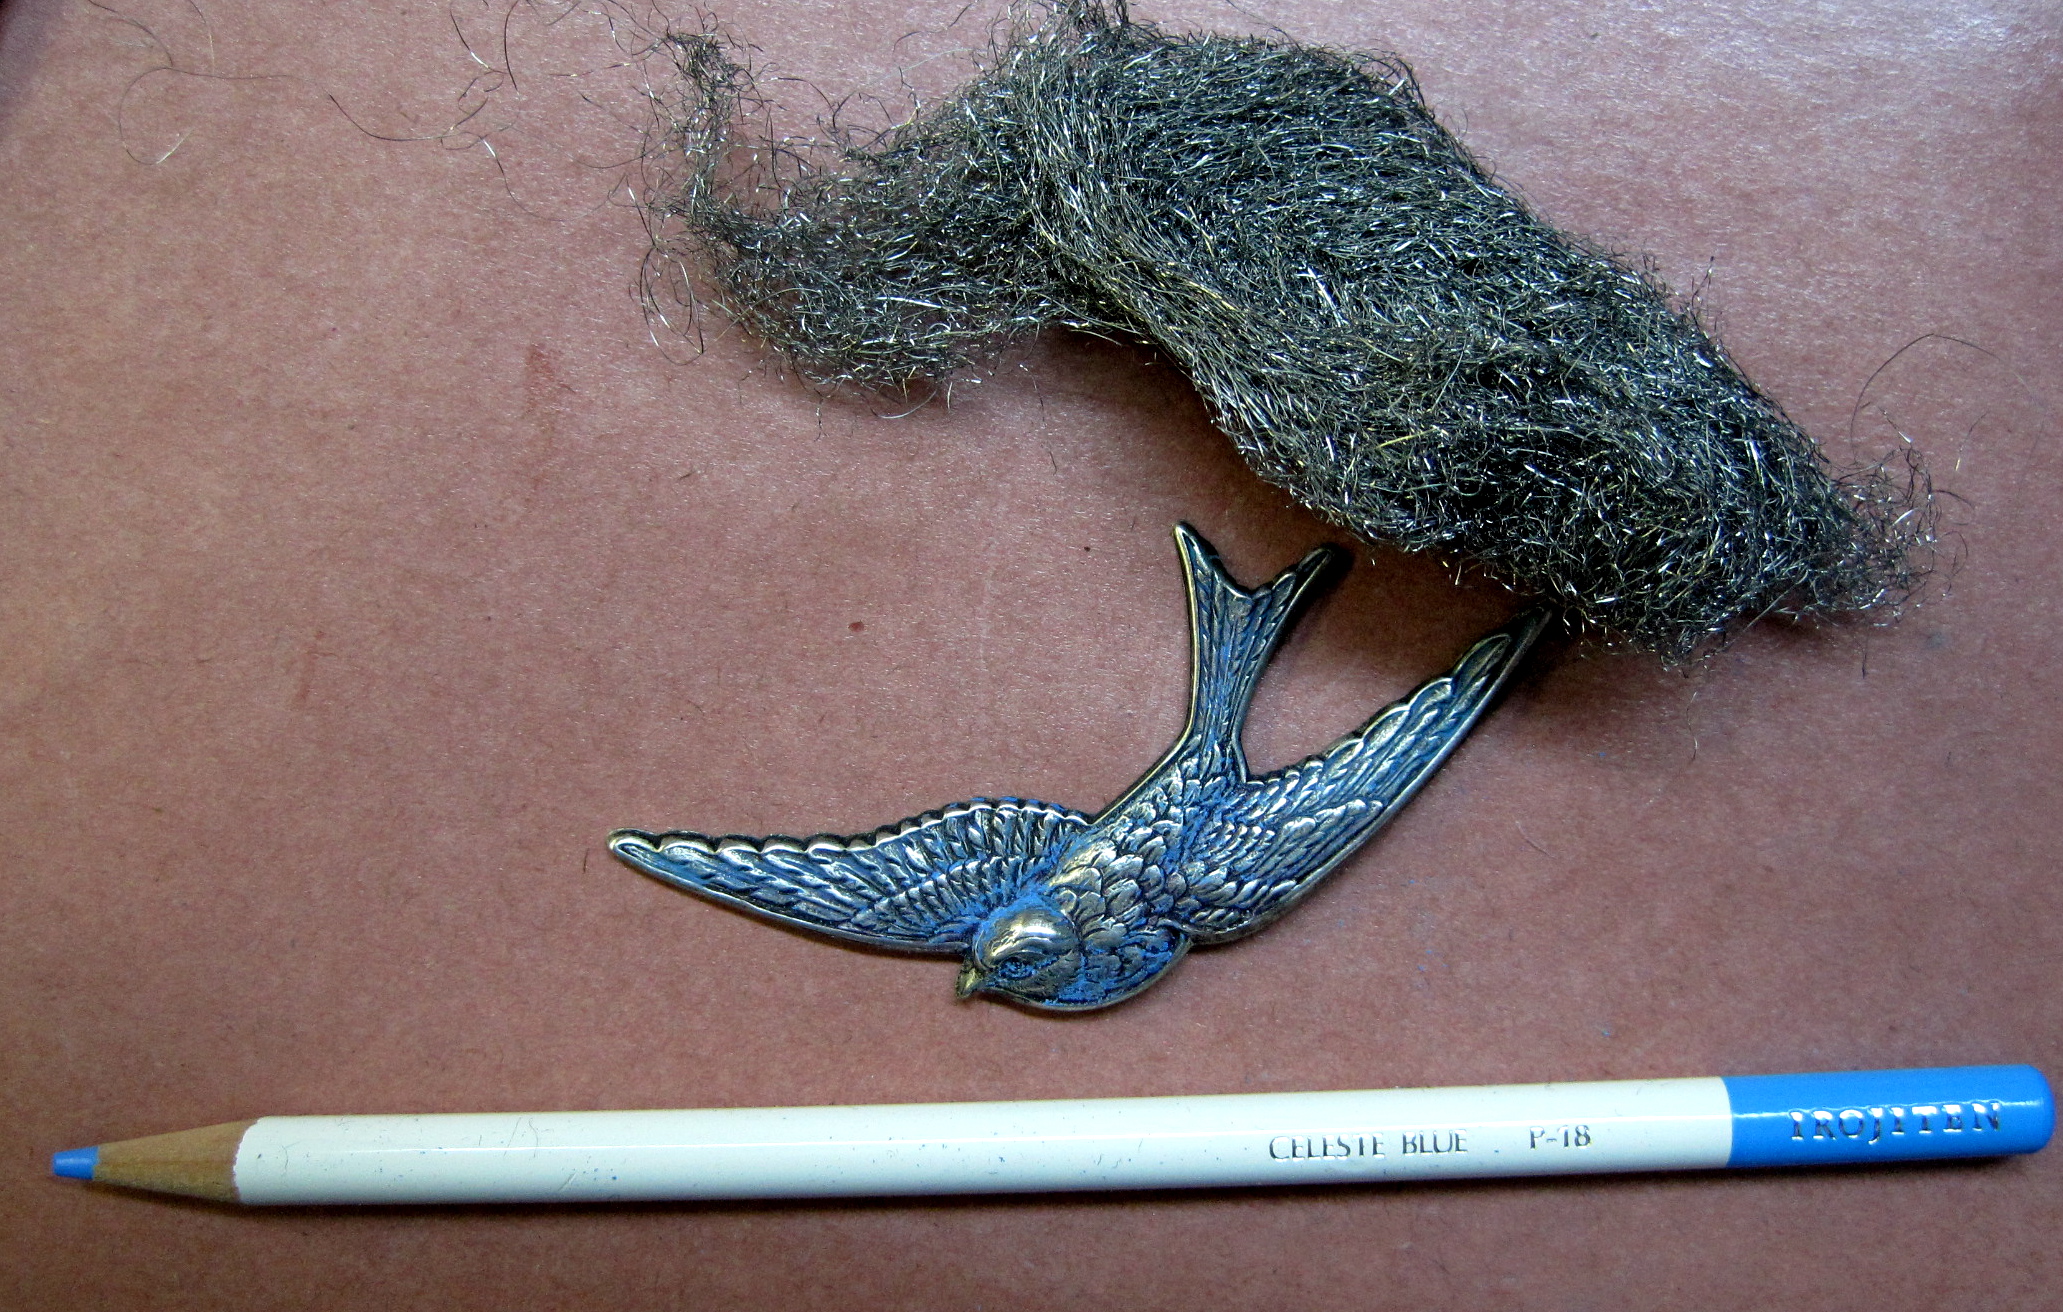
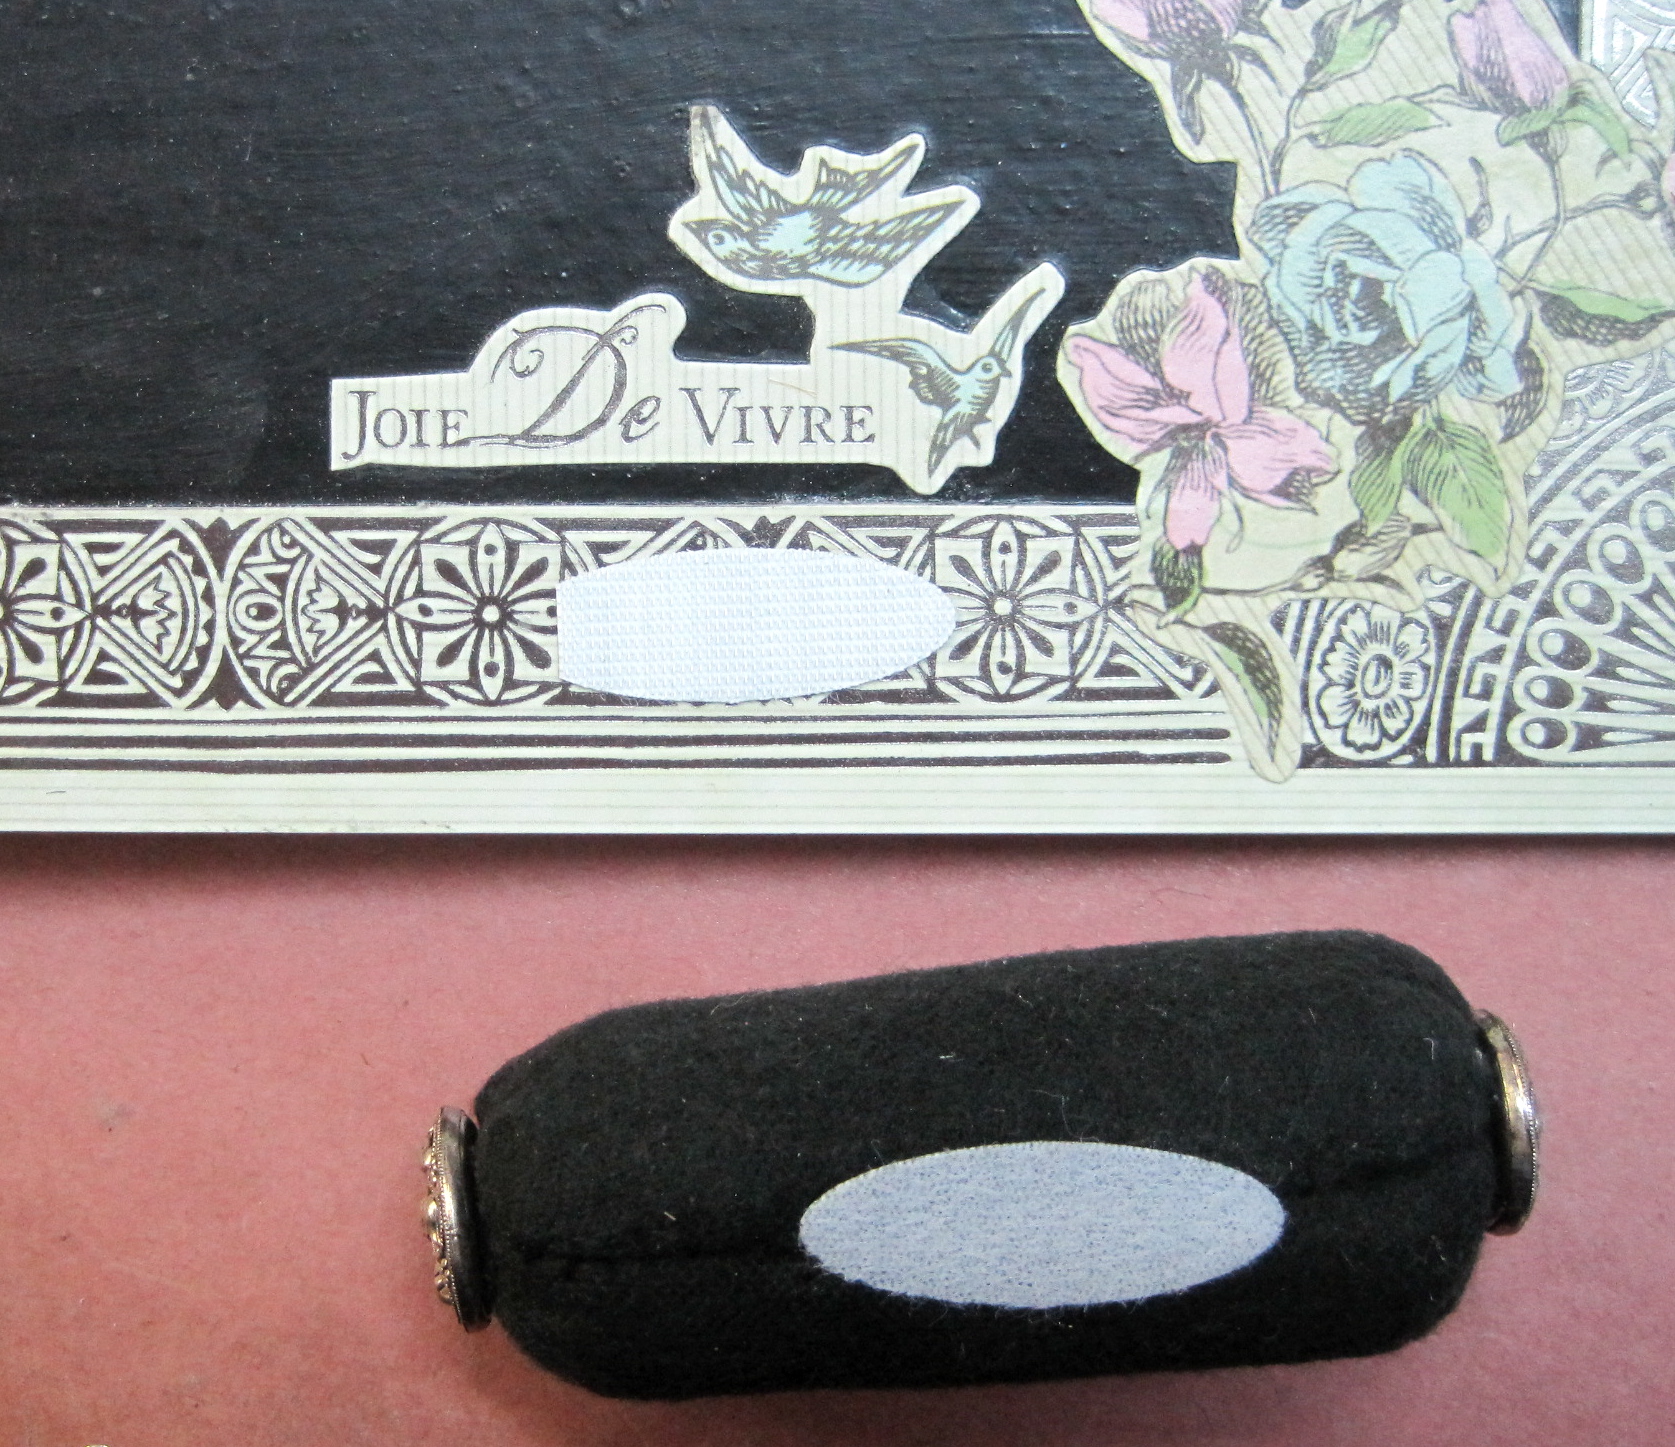
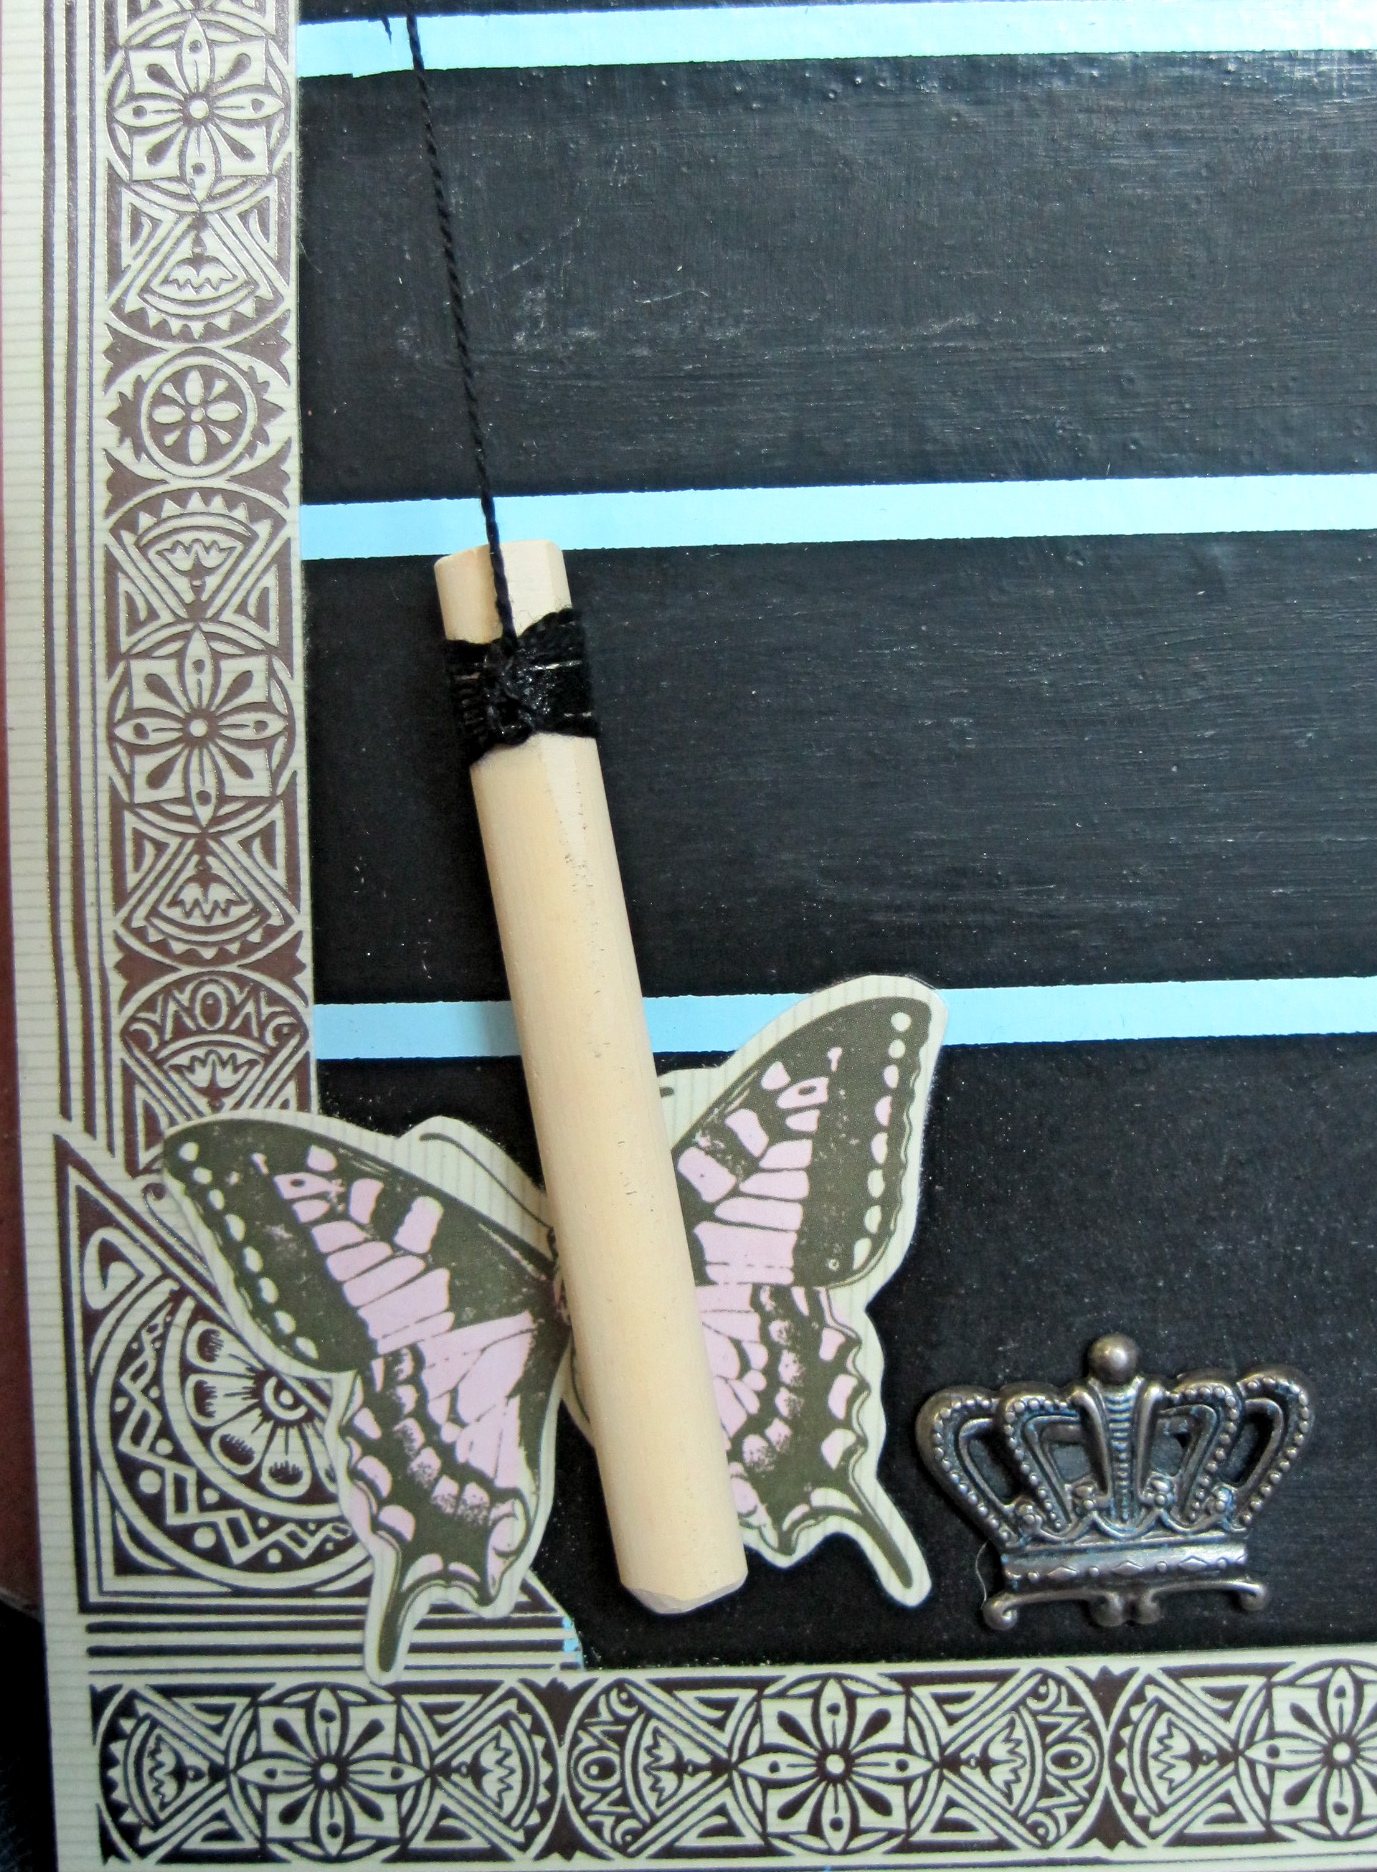
I decorated both the front and the back of the clipboard with the papers and embellishments. I love when paper collections have everything you need to make it fun and simple to coordinate your project!

IMG_1244

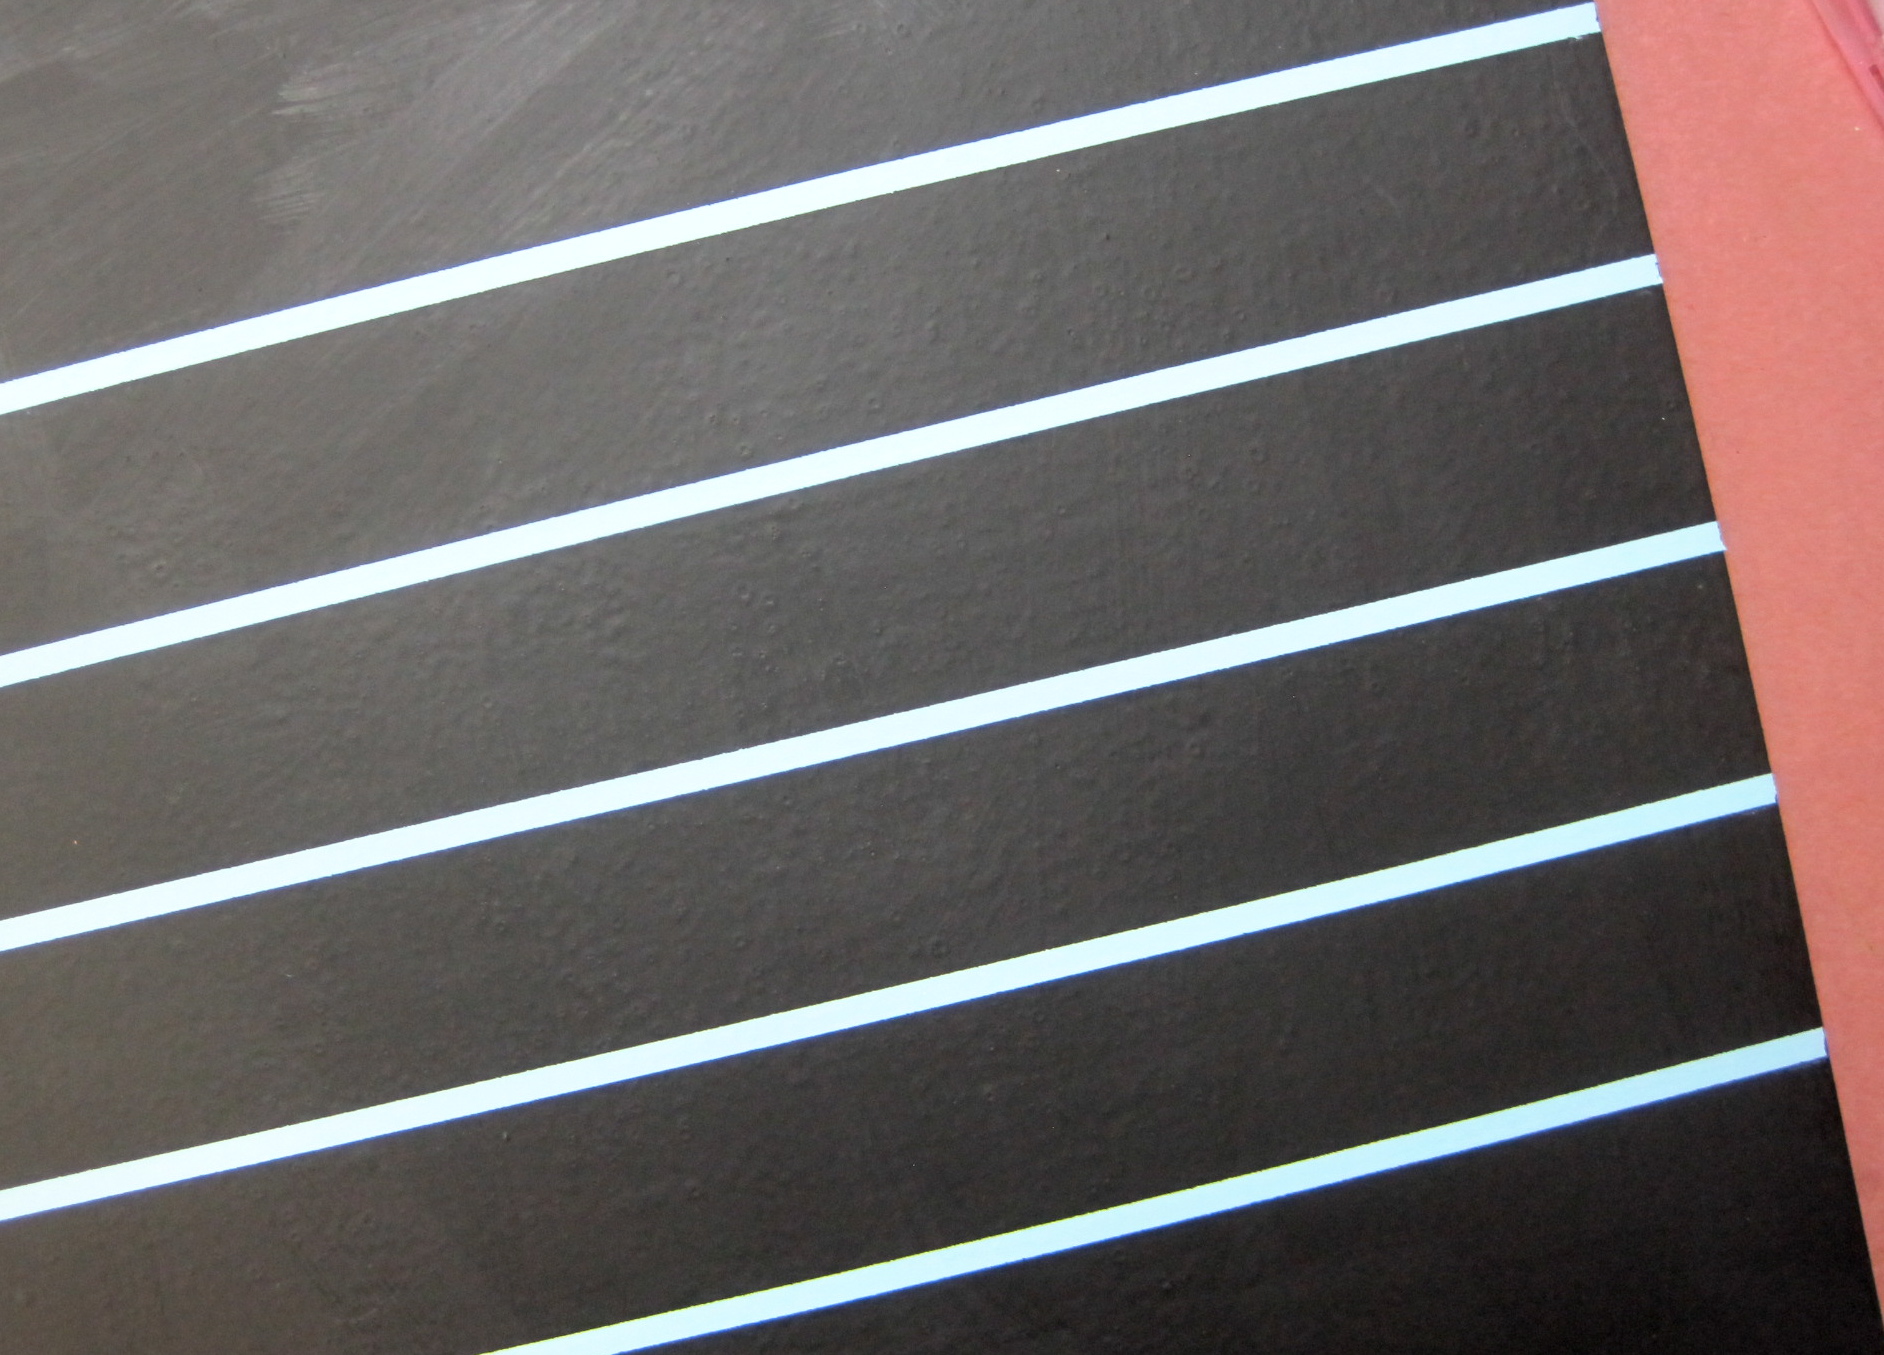
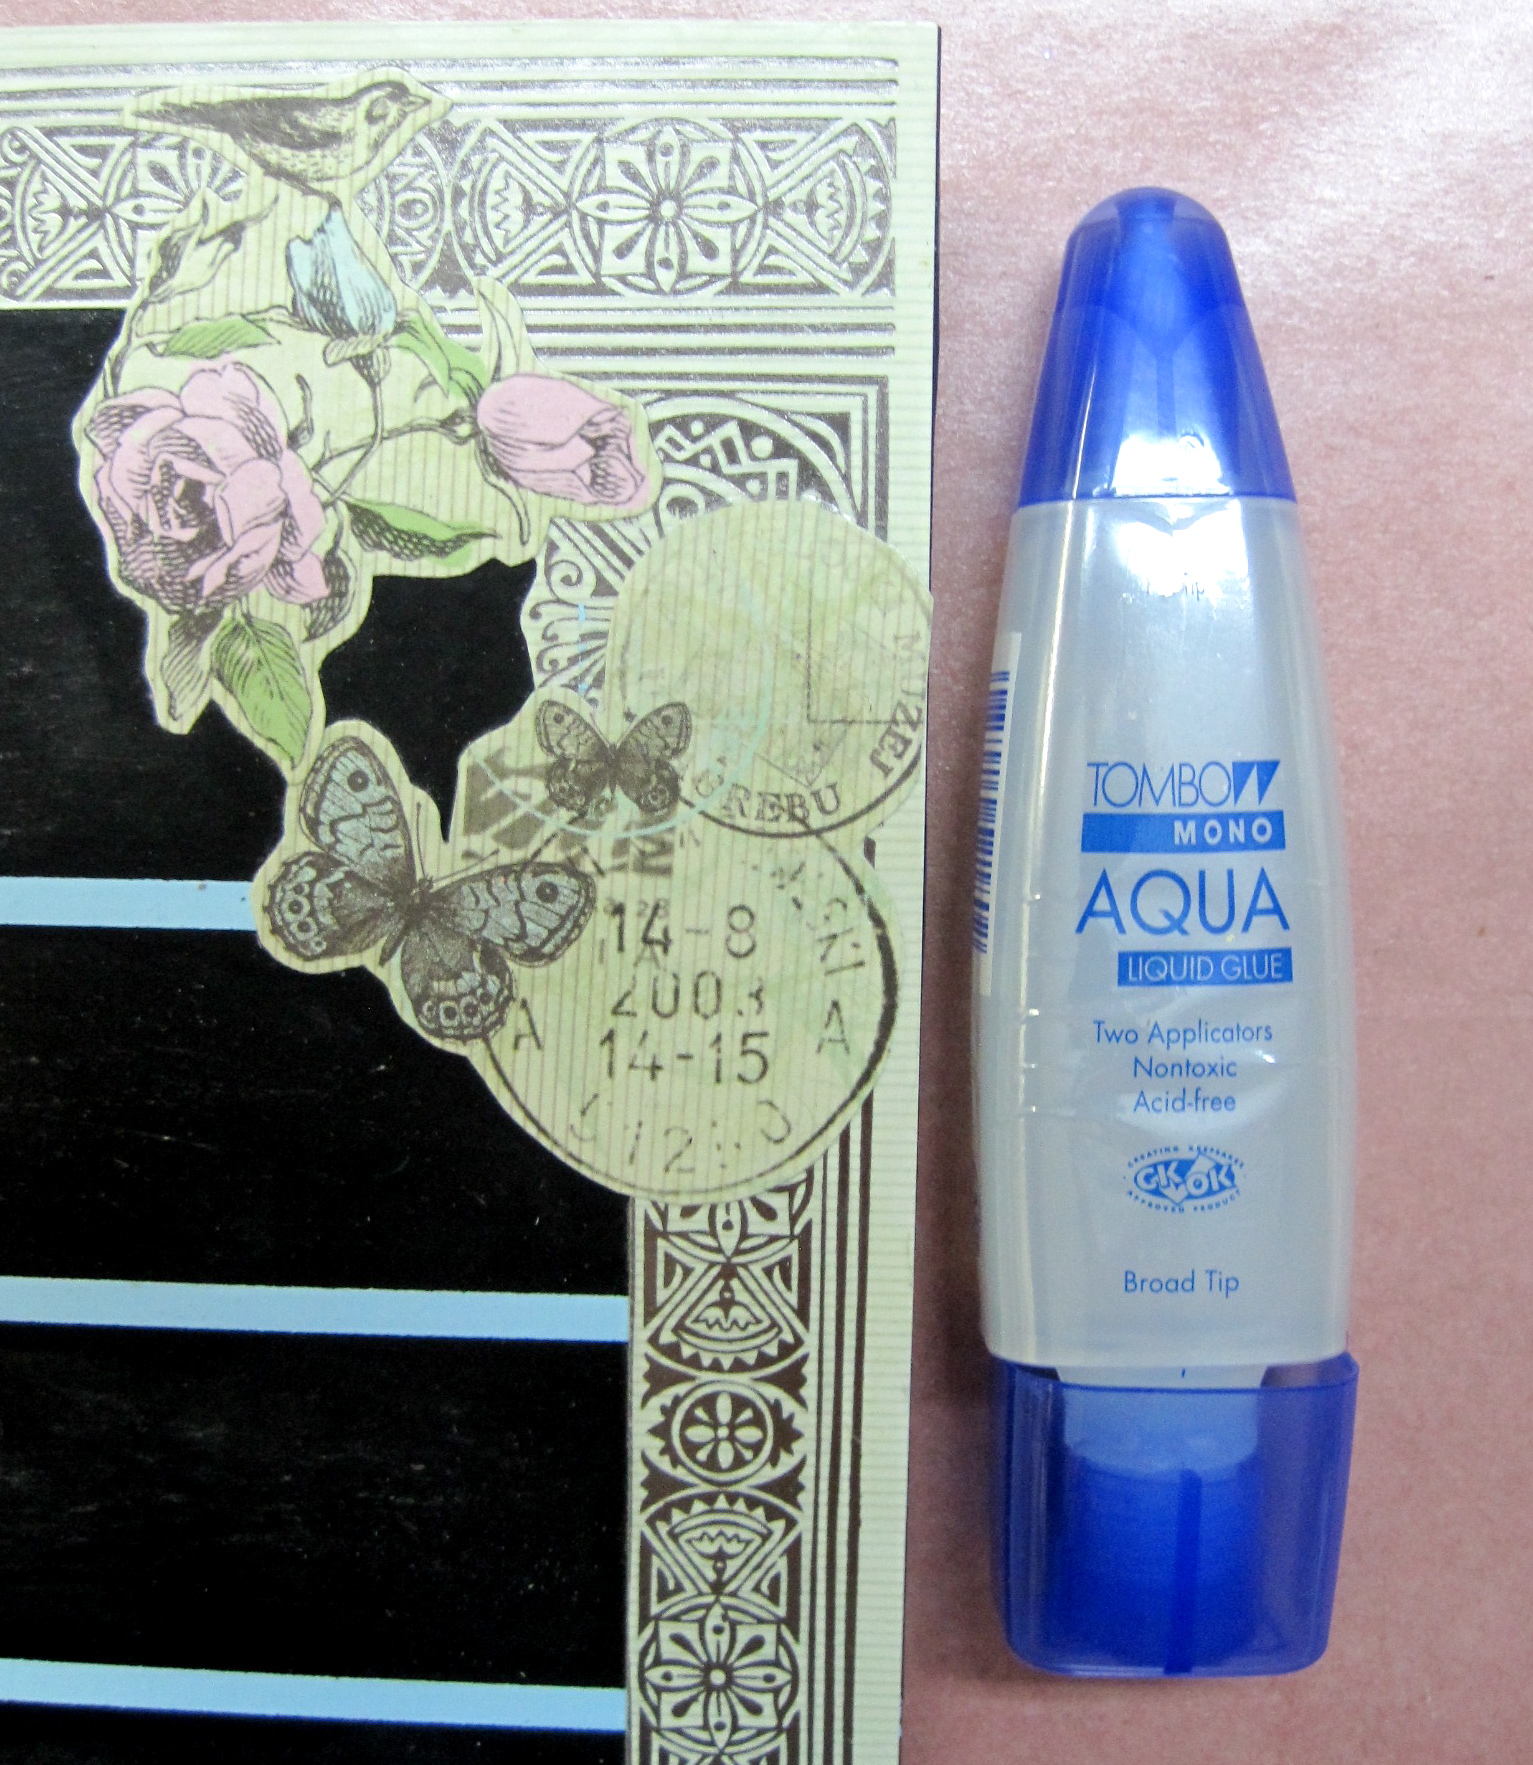
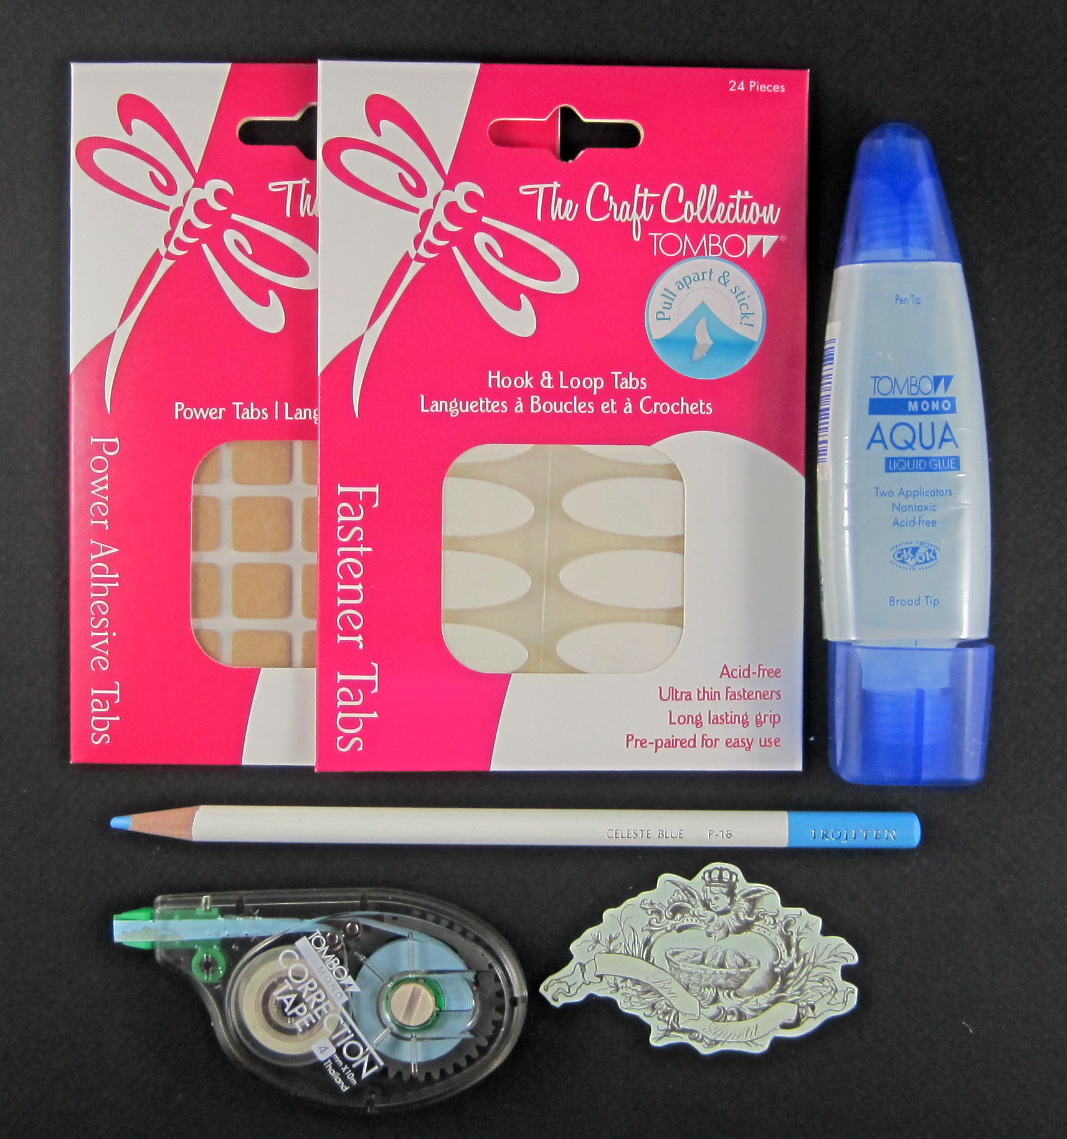
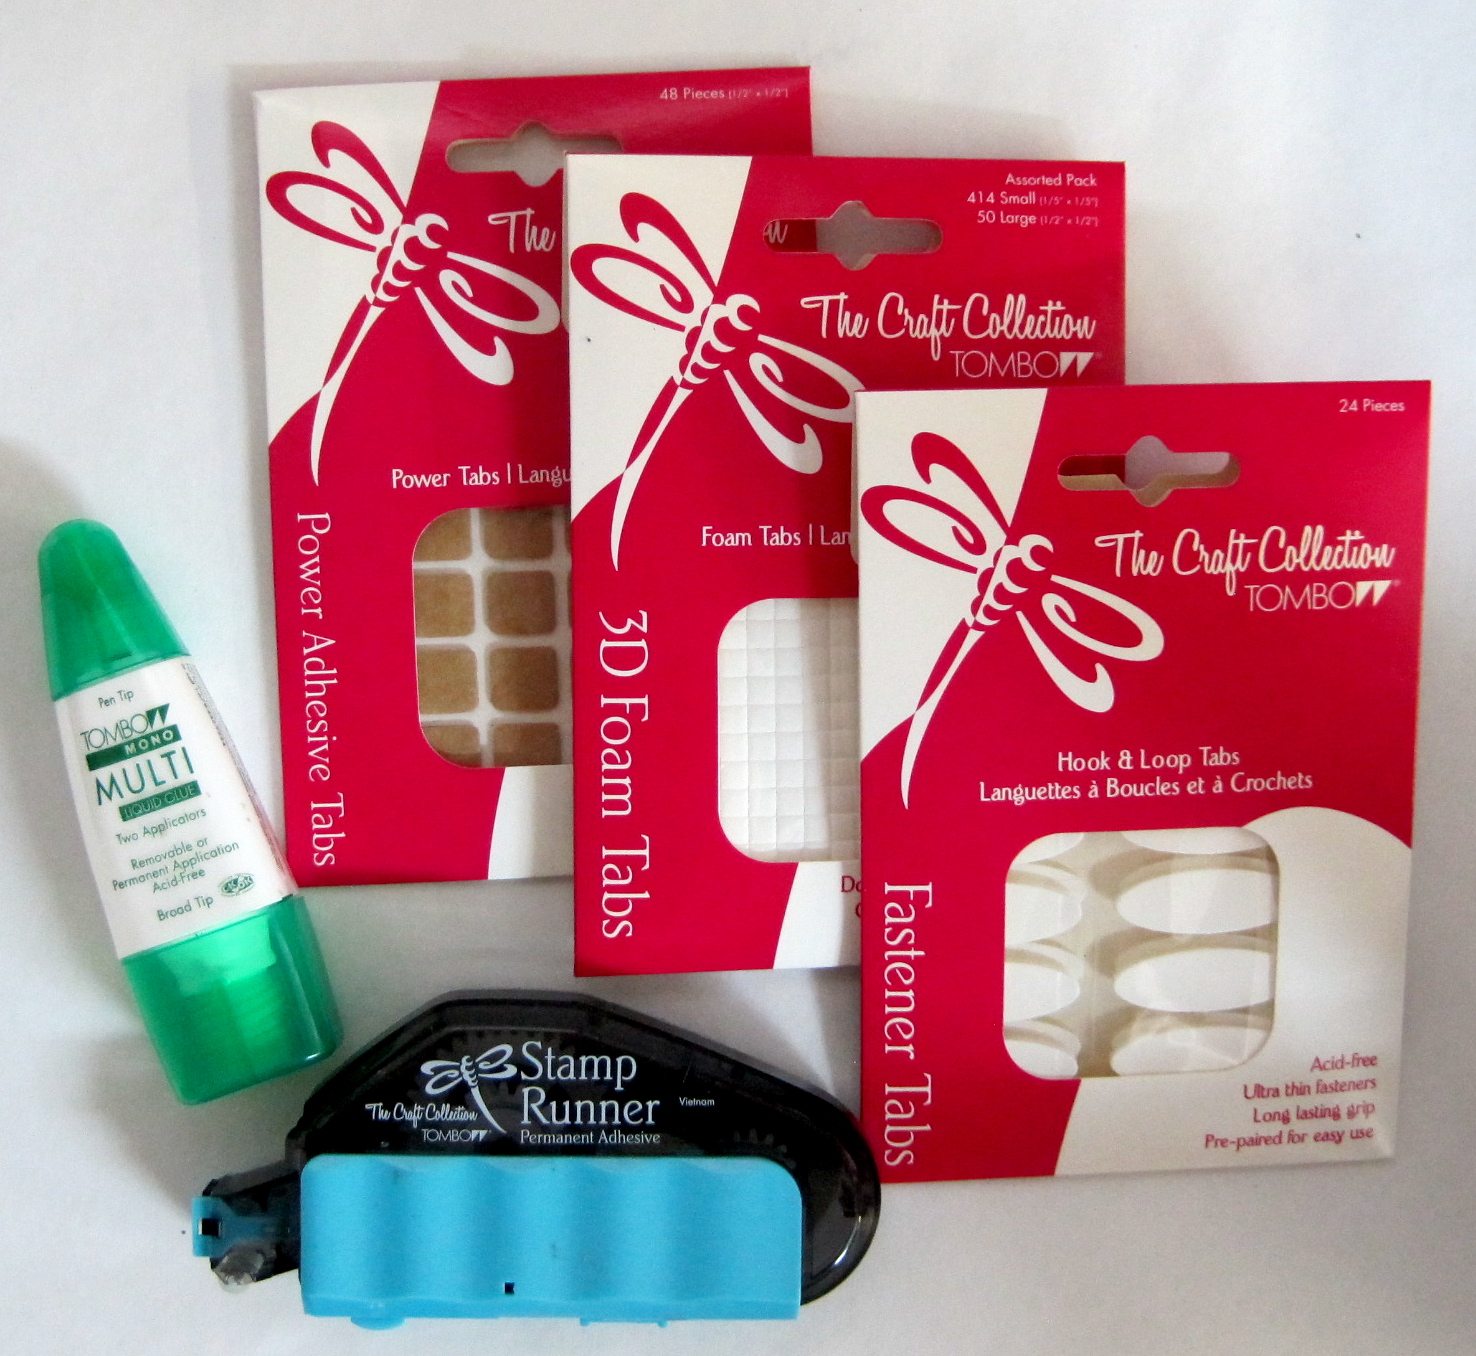
To start, I covered both the front and back with paper using MONO Aqua Liquid Glue. It’s a perfect paper to wood glue that goes on smooth with no wrinkles. The photo, frame, tickets and smile panel were attached using the MONO Adhesive Dots Runner. 

IMG_1245

Any heavier embellishments, like this button on the metal clip, are attached using Xtreme Adhesive. This high performance adhesive is 5x stronger than standard tape runners!

IMG_1246

For that finishing touch, I attached a pen to the board using a Fastener Tab.  These hook and loop tags are ultra thin with a long-lasting grip that can be pulled apart and stuck together as often as you like. A very handy way to have your pen always at the ready! I used one of favorite Tombow pens, the Zoom 727 Ballpoint.

IMG_1238

Another quick and fun project using Tombow Adhesives!


Bragging Wallet August 19, 2013

IMG_1732

Thanks for joining us on the blog hop! If you have come here from Jennie’s blog you are on the right track! Here’s a small photo wallet I created to keep in my purse. For the cover, I layered graduated sizes of ColorCore cardstock from Core’dinations together using MONO Multi Liquid Glue. I loved how the colors created a pretty ombre effect and the multiple layers made a strong, practical cover to protect the photos. I used the Sanding Set to distress the papers and the button. The metal photo corners are attached with the MONO Multi Liquid Glue and the button is held on with a Power Tabs.

IMG_1735The concertina pages used the same colors for the panels and were attached using the Dots Adhesive Stamp Runner. The Dots Adhesive was also used to adhere the photos of cute little Lucy into the book. My new granddaughter – the reason for the brag book!

IMG_1737To hold the wallet closed, I used Fastener Tabs. They offer a low profile when working with paper and are very strong. The hook and loop type fastener can be opened and closed over and over again for many show-off sessions!

bloghop_LW

Be sure to comment to win! The more you comment, the more chances you have! Now, head on over to our guest designer Laura Williams to see what kind of craftiness she has created for us!

If you enjoyed this post please follow me on:

Facebook facebo

Twitter
twitter


Cute Containers Tipnique November 8, 2012

These containers – I call them ‘Column Twist Containers’ are so easy to make and they don’t require a template – just a rectangle piece of decorative paper! The paper is the ‘Miss Caroline’ collection from My Mind’s Eye. Embellishing is a breeze using the new Tombow Tags and matching brads and stickers from the ‘Miss Caroline’ collection.

Cut the paper into a 6″ x 8″ panel (container), a 2″ x 4″ panel (bottom flap), and 3″ x 4″ panel (top flap). Fold the flap pieces in half lengthwise and trim the bottom corners round.

Create the container by applying the Permanent Adhesive Stamp Runner to the 6″ edge. I used a very tiny amount of the MONO Multi Liquid Glue along the edge to make sure it holds down firmly – this is important if using heavier paper to make these containers. Roll the paper into a cylinder and press down with a bone folder.

Pinch the bottom of the cylinder and adhere on the bottom flap. Pinch the top of the container and adhere the back of the remaining flap to the top of the container. Add the Fastener Tab to the front flap to hold the container closed. Use Power Tabs and Foam Tabs to add the embellishments.

Here are the dimensions for the larger container and tall container: Large Column Twist Container: 6″ x 12″ panel (container), 2″ x 6″ panel (bottom flap) and a 3″ x 6″ panel (top flap)

Tall Column Twist Container: 7″ x 9″ panel (container), 3.25″ x 2″ panel (bottom flap) and a 3.25″ x 3″ panel (top flap)

Have fun with these – make lots! Visit us again for lots more Tipniques with Tombow products! Now, hop on over to My Mind Eye and see what they’re doing. http://mymindseye.typepad.com/

if you enjoyed this post follow us on facebook and twitter!  http://www.facebook.com/tombowusa and http://twitter.com/#!/tombowusa


“Once Upon a Time…” October 17, 2012

I enjoyed this challenge; it reminded me of my love of Fairy Tales so I created my own little story booklet.

Some lucky little child will receive this and enjoy many hours of bedtime stories from their family! I love the new ‘Once upon a Springtime’ paper collection from Graphic 45 and wanted to do something extra special with it and this project is definitely the start of many…what’s your favorite Fairy Tale?

The pages are cut from the cardstock with my Bog Shot and the Accordion Album die. Using Stamp Runner Permanent Adhesive, I put the booklet together forming ten pages. I printed the story
from the Internet (lots of sites to find classic fairy tales!) onto cream colored cardstock, trimmed them and then adhered to the pages with the Permanent Adhesive. Being able to print your own tales also gives you the opportunity to personalize the characters with the names of the children who will receive the booklet.


Then came the fun of embellishing the pages! Tiny paper flowers, rhinestones, stamped images softly colored with Irojiten Colored Pencils and glitter makes the booklet extra special. The glitter wings of the fairies and rhinestones in crowns are added using the Glue Pen and larger embellishments added with the MONO Multi Liquid Glue, Foam Tabs and the stamping feature of the Permanent Adhesive Stamp Runner.
 
 The ribbon bellyband uses a Fastener Tab for a decorative touch that also holds the book together.
 
 
..and they all lived happily ever after….

If you enjoyed this post please follow us on http://www.facebook.com/tombowusa and http://twitter.com/#tombowusa


‘To do’ Board April 16, 2012

What a great challenge, use Tombow Correction Tape in a craft project! Sharron gave me this great idea of using it to ‘paint’ lines on a chalkboard! I have it displayed on an easel, but will be hanging it on the wall next to my desk to help me focus on my most important tasks for the week.

I started by painting a 12 x 12 board with black chalkboard paint. When dry, I measured and marked where I wanted to add lines. I then used a ruler and the blue colored original MONO Correction Tape. They came out perfectly! To protect the taped lines, I covered them with two coats of matte varnish.

I added a paper boarder and cut-out images from the Bonjour Collection from Kaiser Craft. I used the MONO Aqua Liquid Glue to decoupage it onto the board. It works great for paper to painted wood glue jobs with no wrinkles and a smooth finish.

To embellish the board further I added some colored charms. I used a light blue Irojiten Colored Pencil to add color and then wipe off the excess with steel wool. The result is a antiqued colored charm that you can do in seconds! The finished charms are attached to the board with Power Tabs.

The blackboard eraser was made by rolling up some soft cotton materials and sewing it closed. I added two buttons at the sides and the finished piece is held onto the blackboard with a Fastener Tab.

I attached the chalk to the board by wrapping it with pearl cotton string and attaching it to the board with a mini clip. To stop the thread from unraveling, I added a few drops of Aqua Liquid Glue.

I have already started to erase finished projects from my ‘to do’ board! What can you think of with using Correction Tape in a craft project? Check out correction Tape projects in the Tombow Blog Archives for some cool ideas! Remember all of the Tombow products you see can be purchased at www.Tombowusa.com

If you enjoyed this post please follow us on: http://www.facebook.com/tombowusa and http://twitter.com/#tombowusa