Marie Browning

"Inspiring and honoring creativity"

Blog Hop with the Frugal Crafter! October 24, 2014

IMG_1277

This week we are blog hopping with guest designer Lindsay Weirich, also known as the Frugal Crafter! I have a new DoodleDab for you, “Willow in the Wind” done in Autumn hues to accent a card. If you just came from Jennie Garcia’s blog you are on the right track. If not, you may want to start at the beginning here at the Tombow Blog so you are eligible to win the prize!

IMG_2538

IMG_1278

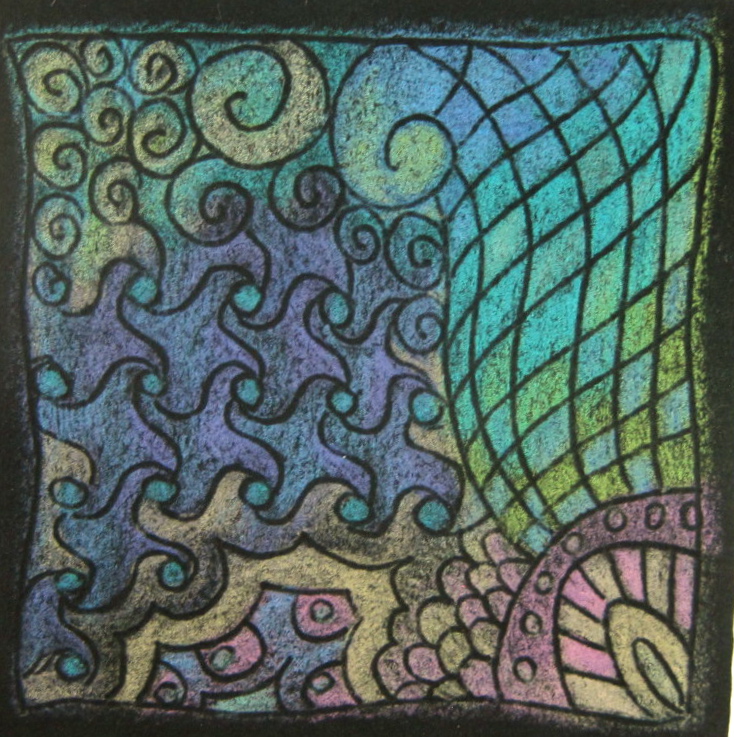
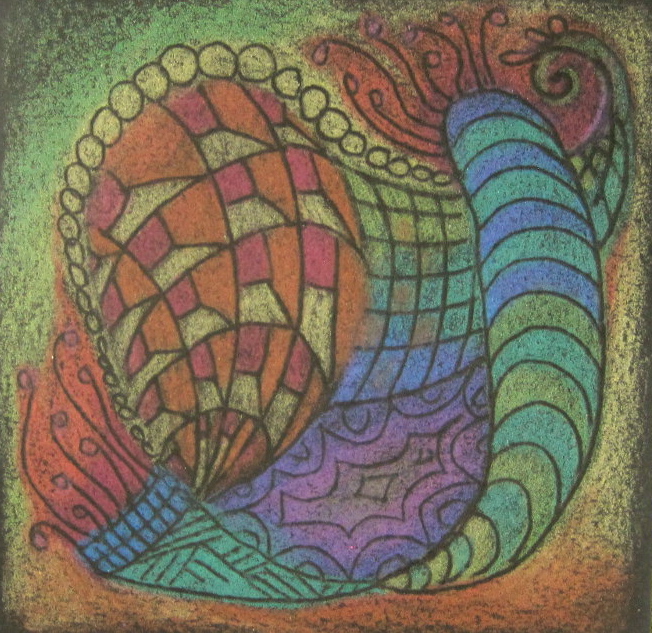
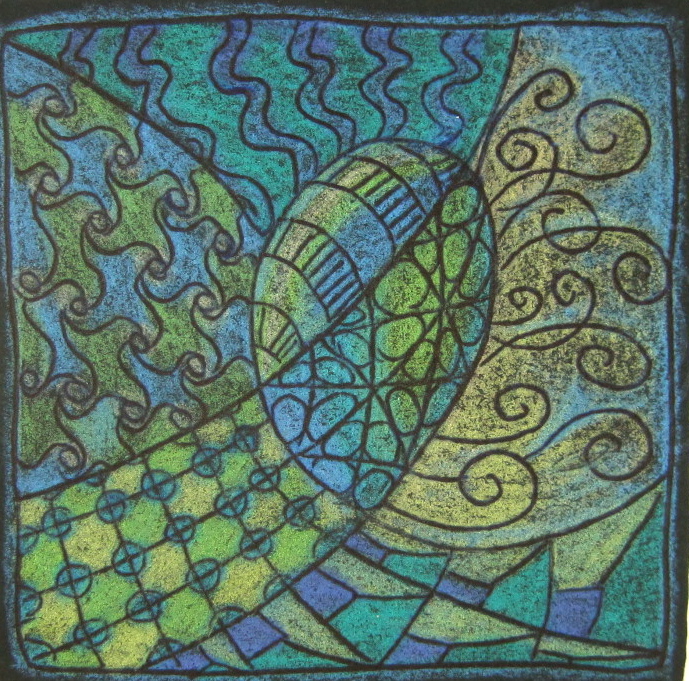
Here are the step outs for the DoodleDab. Remember to turn the paper so it’s easy to place the teardrop strokes. For the accent on the card I used the colors from the Dual Brush Pen Set, Muted Colors. 

IMG_1279

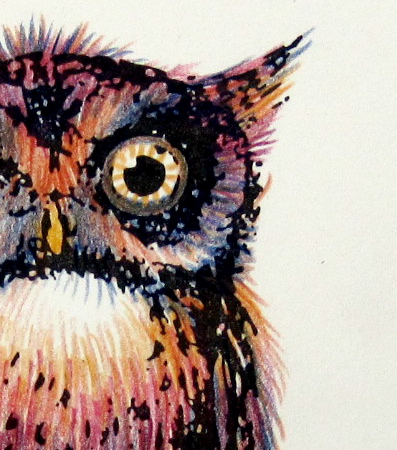
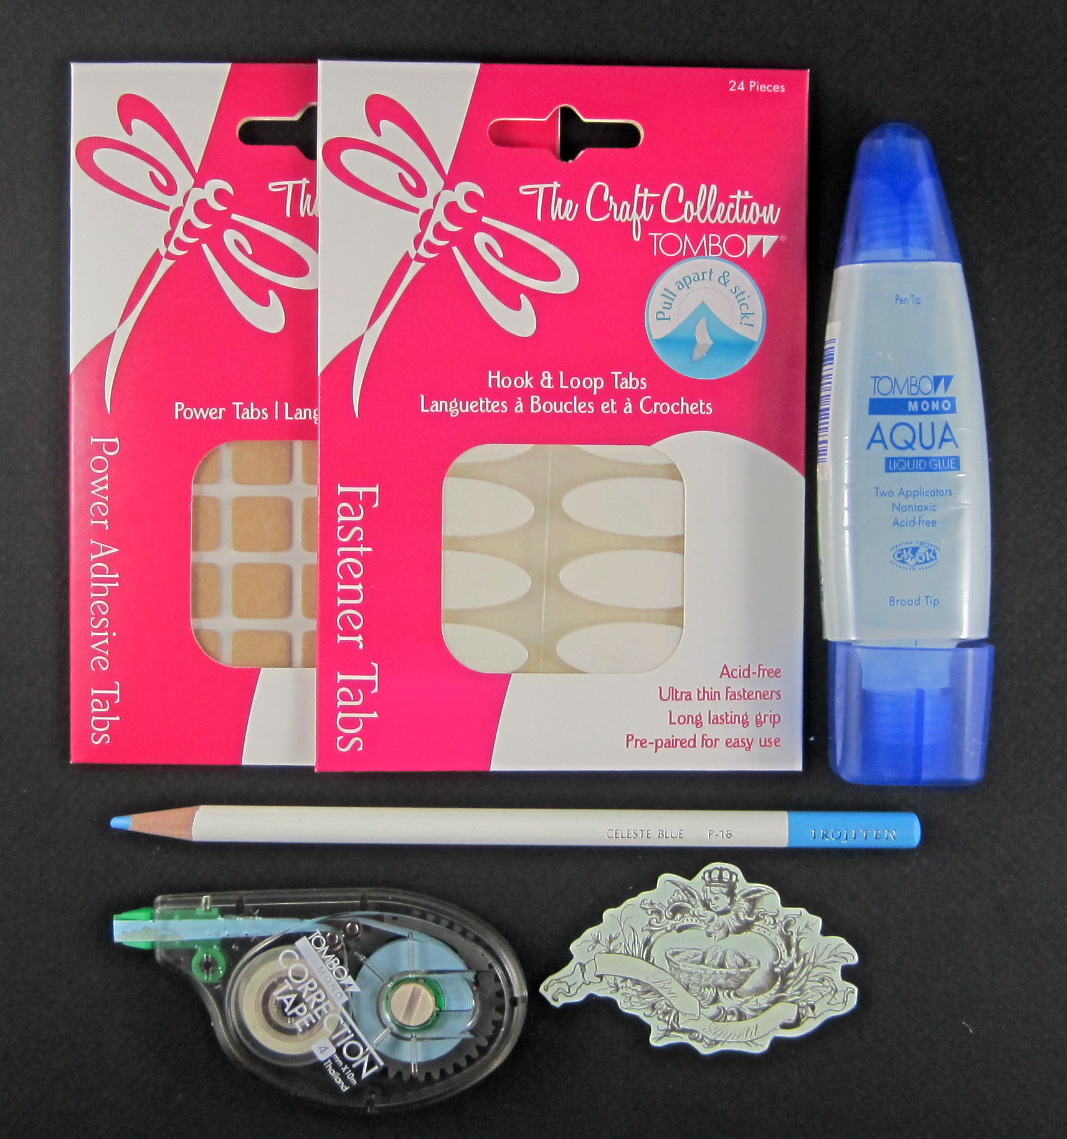
I added color to the photograph using a few matching colors of Irojiten Colored Pencils.

IMG_1281

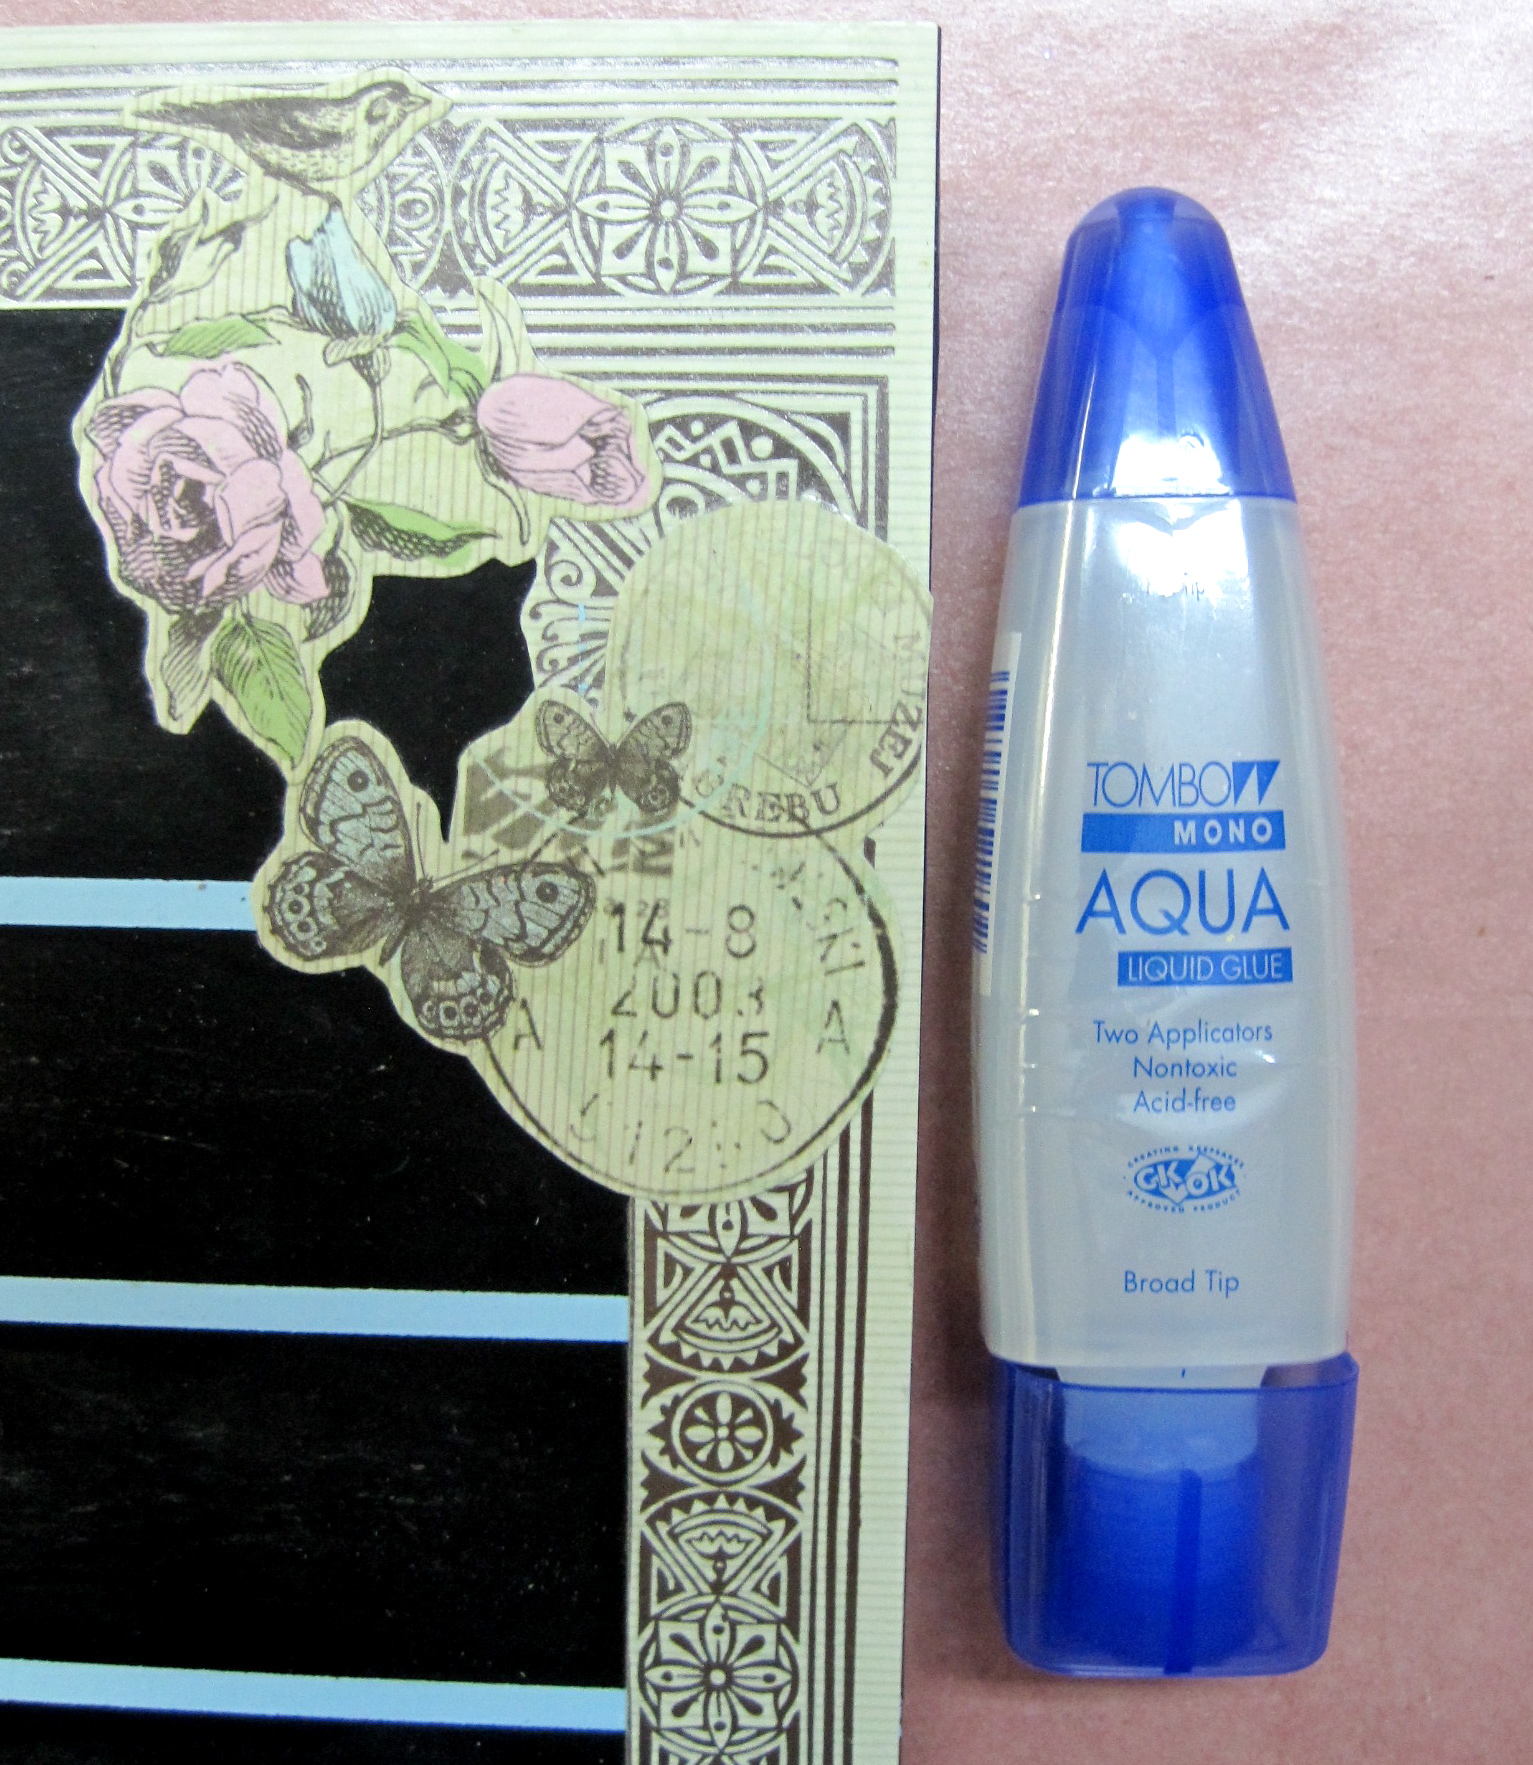
The panels were attached using the Xtreme Adhesive and the photo panel popped up with Foam Tabs. I used my Envelope Punch Board to create a matching envelope. The Xtreme Adhesive is  perfect for constructing the envelope instantly and securely! Don’t forget to add more DoodleDabs to decorate the panel on the envelope!

Bloghop_FC

In order to be qualified to win this amazing prize, a Dual Brush Pen Set, Muted Colors, please comment on each of the designer’s projects. We will announce a winner Monday Oct. 27.

Your next stop is Lindsay’s blog, our guest this week to see what wonderful creation she has for you!


Jennie’s Book Challenge September 15, 2014


Work with book pages? Challenge accepted! This is an easy challenge Jennie as I LOVE working with book pages! IMG_1182

This Roster tag features a technique I developed called Subtractive Stamping. It uses book pages that have been scanned and printed (actual book pages are too delicate to use). The images are stamped on very lightly, then erased with the Colored Pencil Eraser  to remove the print. You then stamp again with black ink and color with the Irojiten Colored Pencils.

IMG_1183

IMG_1184

It’s all explained in my new book, Pencil Magic, hot off the press from Design Originals, Fox Chapel Publishing! It’s just one of the many different graphite and colored pencil techniques I share. This book is excellent for beginners, as well as experienced artists, with many new techniques for you to try.

IMG_2434

The subtractive stamping technique works with other ephemera such as vintage journal pages, documents and music sheets! This bird card is done with a scanned and printed Italian document from 1836.


Jennie_books

What can you create using book pages? If you haven’t guessed, the challenge for this month is BOOKS! Anything related with books; altered books, quotes from your favorite books, library cards, book paper, mini books! The sky is the limit! Create a book inspired project for your chance to win Jennie’s Book Challenge! Check out the great prize! It will include Xtreme Adhesive, Mono Multi Liquid Glue and Foam Tabs! Winner will be announced Sept 24. 

Go to the Tombow Blog for more information!


My Mind’s Eye and Tombow Blog Hop March 30, 2014

Welcome to the My Mind’s Eye and Tombow Blog Hop! If you just came from Lea Lawson’s Blog you are on the right track. If not, you may want to start here.

IMG_3471I LOVE the ‘Now and Then’ Collection from My Mind’s Eye and I especially love all the coordinating embellishments that make designing  pages a breeze! IMG_3470I started with my chosen photograph and hand colored it to fit the color theme. I used Irojiten Colored Pencils to adjust and change the coloring to make it fit perfectly. I printed out the photograph onto Canson Mix Media paper. I also cropped the photo and faded the color before printing. IMG_3472Next I choose the Irojiten colors to match the collection’s palette. I didn’t use every color, but it was nice to develop a complete palette for future creations. The Irojiten colors to match the Now and Then collection are as follows: D-1 Crimson, V-2 Tangerine, P-3 Shell Pink, P-13 Gamboge, Lg-7 Quartz Green, Lg-8 Porcelain Blue, DI-7 Jay Blue and P-10 Pigeon Gray. Choose from  any of these palette colors and color your photo with a light blending.

IMG_3469To put the page together, I started with the paper panels and arranged them using the Removable Adhesive. This allows me to move them around but stay in place as I create. After permanently adhering the pages down with Dots Adhesive, I added the ‘Now and Then’ Embellishments. I used Chipboard Elements, Label Stickers, Small Flair Pins, Decorative Brads, Word Stickers and the 3×4 Cards. I especially loved the My Mind’s Eye Enamel Dots to add that finishing touch! For some pieces I used Foam Tabs to create a very dimensional arrangement.

IMG_3467IMG_3468I decided to mount this page onto a canvas. I edged the canvas by cutting 2″ strips of cardstock, scoring them and attaching them with Xtreme Adhesive. I added details with some Now and Then Washi Tape to give the corners a finished look. I then mounted the page onto the canvas with the Xtreme for a strong and permanent display. Remember when using the Xtreme to ‘slide to the side’ after applying the adhesive and before lifting.

Blog Hop_MMELook at the fabulous prize you can win for playing with us! My Mind’s Eye Charmed Collection, Tombow’s New Xtreme Adhesive, MONO Multi liquid Glue, and  Irojiten Colored Pencils!

To be eligible to win, please comment on each of the designers projects and don’t forget to “Like” My Mind’s Eye on Facebook Page and “Like” the Tombow Facebook Page. If you don’t have a Facebook, still comment on the projects and Tombow will select someone to win a prize just for playing! Commenting for your chance to win this blog hop prize will end March 30th at Midnight EST! We will announce the Winner on March 31st via our Social Media outlets!


Taylored Expressions & Tombow Blog Hop October 23, 2013

TE_hop

Welcome to the Taylored Expressions and Tombow blog hop, if you just came from Stephanie’s Blog you are on the right track!

IMG_2054I sure had some great fun with Taylored Expressions Toil & Trouble Stamp set! There were so many elements to have some wicked fun with! I created this invitation for an evening with friends using the stamp set and colored with Tombow Irojiten Colored Pencils.  The invitation details are computer generated, printed out and shaded with the Irojiten Pencils.

IMG_2055The panels are attached using the Dots Adhesive Stamp Runner and Foam Tabs for a dimensional look. Look closely at the bottles, they were outlined with the #977 Dual Brush Pen (a color which matched the background paper) before cutting out. This results in a ‘shadowed’ image that blends into the background beautifully. IMG_2057It’s easy to be creative when you start with excellent products! Now go an see what Jen has designed on her blog!

TE_hop_pTo get you into the Halloween spirit, we’re giving away a fa-BOO-lous prize! To enter, leave a comment on each hop blog post. One winner will be randomly chosen from all hop comments to win a prize package that includes a Tombow Permanent Adhesive Runner, a Tombow Dual Brush Pen Set of 6 Groovy, and a Taylored Expressions Halloween stamp set of winner’s choice! Comments close at 11:59 pm PST on Sunday, October 27, 2013.


‘Impressive’ Zentangle Tiles March 1, 2013

I love the black tiles from the Zentangle folks – and my favorite method to tangle on them is with a unique impressed technique and Irojiten Colored Pencils!

Here are a few examples of the ‘impressed technique’ tiles. Create your Zentangle in the usual way, but instead of a white gel pen, use a black ball point pen or an embossing tool with a small ball end.

It’s easy to see the marks you make on the thick Fabrino paper that the Zentangle tiles are made from – just remember to press firmly to indent the paper.

When you have finished your tangles, it’s now ready to color. Choose a volume of Irojiten Color Pencils – I like the Pale Tone colors and the Fluorescent colors. Start by lightly coloring in your color fields and watch your lines magically appear. Layer the colors for interesting color blending. Keep applying the colors until you are happy with the intensity of the colors. You can press rather hard and those impressed lines will continue to stay black!

It’s a really fun and different way to create Zentangles. You can place your finished tile on a square card blank using MONO Multi Liquid Glue. I also like to add a little sparkle with fine glitter and the Tombow Glue Pen.

Happy Tangling in brilliant Irojiten colors!


Impressed Color Drawing TipNique January 8, 2013

This drawing style uses Irojiten colored pencils and a technique that marks impressed lines on the paper with an embossing stylus before applying the color.
 
 
For the paper, I used a smooth, hot press watercolor paper. I then transferred a design to a piece of tracing paper to make the pattern. Tape the pattern onto to the watercolor paper and with a heavy hand; trace the pattern with the embossing stylus.Remove the tracing paper pattern to reveal the impressed line outline of the design.
 
After the main lines were impressed, I removed the pattern and added the filler design lines. I did this free hand without using a pattern and pressed hard to create the deepest impressed line possible.
 
I then start shading and adding color to the design. It’s kind of magical to watch the lines appear and stay white even with the hardest shading pressure. I go over the edges of the motif to make the lines show up best. It also adds a fanciful effect to the drawing.
 
The last shading uses darker colors and the heaviest shading to create the finished look. Do not be afraid to add lots of layers of different colors and darker hues for the most interesting drawings.
I hope you enjoyed this fun tipnique, please follow us on http://www.facebook.com/tombowusa and http://twitter.com/#!/


Irojiten Workshop July 9, 2012

Ready to learn everything about Irojiten colored pencils? Join me for a class at My Creative Classroom!

Learn all the best techniques using premium quality Irojiten Colored Pencils from Tombow. ‘Irojiten’ is ‘Color Dictionary’ in Japanese and I will teach with you the meaning of colored pencil techniques such as layering, blending, scrumbling and impressed.

We will work on stamped images and create a finished card with each technique. Learn to tint photographs with colored pencils and create beautiful effects for all your paper art projects. Beginners as well as advanced paper artists will have no problem in this class!

See you in the classroom!

If you enjoyed this post please follow us on http://www.facebook.com/tombowusa and http://twitter.com/#tombowusa


‘To do’ Board April 16, 2012

What a great challenge, use Tombow Correction Tape in a craft project! Sharron gave me this great idea of using it to ‘paint’ lines on a chalkboard! I have it displayed on an easel, but will be hanging it on the wall next to my desk to help me focus on my most important tasks for the week.

I started by painting a 12 x 12 board with black chalkboard paint. When dry, I measured and marked where I wanted to add lines. I then used a ruler and the blue colored original MONO Correction Tape. They came out perfectly! To protect the taped lines, I covered them with two coats of matte varnish.

I added a paper boarder and cut-out images from the Bonjour Collection from Kaiser Craft. I used the MONO Aqua Liquid Glue to decoupage it onto the board. It works great for paper to painted wood glue jobs with no wrinkles and a smooth finish.

To embellish the board further I added some colored charms. I used a light blue Irojiten Colored Pencil to add color and then wipe off the excess with steel wool. The result is a antiqued colored charm that you can do in seconds! The finished charms are attached to the board with Power Tabs.

The blackboard eraser was made by rolling up some soft cotton materials and sewing it closed. I added two buttons at the sides and the finished piece is held onto the blackboard with a Fastener Tab.

I attached the chalk to the board by wrapping it with pearl cotton string and attaching it to the board with a mini clip. To stop the thread from unraveling, I added a few drops of Aqua Liquid Glue.

I have already started to erase finished projects from my ‘to do’ board! What can you think of with using Correction Tape in a craft project? Check out correction Tape projects in the Tombow Blog Archives for some cool ideas! Remember all of the Tombow products you see can be purchased at www.Tombowusa.com

If you enjoyed this post please follow us on: http://www.facebook.com/tombowusa and http://twitter.com/#tombowusa
 

Color Combinations Using the New 2012 Colors January 20, 2012

Keeping on the theme of color this January, here is another color combination using the 2012 Top Ten colors

With this project I have chosen both paper colors and Irojiten Coloring Pencil colors to create a muted floral combination using the following colors: (I have also Listed the matching Dual Brush Pen Colors.)

 
Irojiten V-7 King Fisher, Dual Brush Pen 528 Navy BlueIrojiten DI – 4 Sage Green, Dual Brush Pen 192 Asparagus Irojiten VP-1 Cameo Pink, Dual Brush Pen 723 Pink Irojiten P-20 Crocus, Dual Brush Pen 623 Purple Sage Irojiten Lg-2 Cork, Dual Brush Pen 992 Sand


I used the Dots Adhesive Stamp Runner to attach the ribbon and the torn colored panel onto the card front. I had a delicate piece of a paper wasp nest and added it to the corner by first applying the Dot Adhesive then laying down the wasp nest. I simply rubbed away the exposed adhesive. The bee charm was added using MONO Multi Liquid Glue.


This is a really fun and creative way to combine two differt coloring pproducts and achieve a great blending effect. I hope you enjoyed this project and learned a little more about Tombow’s products. If you enjoyed this post please follow us we’re on  http://www.facebook.com/tombowusa and http://twitter.com/#!/tombowusa