Marie Browning

"Inspiring and honoring creativity"

Winter Wonderland Blog Hop with Tombow & Stampendous! November 23, 2014

Filed under: Cards,Irojiten Color Pencils — mariebrowning @ 3:00 am
Tags: , ,

Welcome to the Tombow and Stampendous Winter Wonderland Blog Hop! If you just came from Janelle’s blog, you are on the right track! If not, you may want to start here at the Stampendous Blog so you are entered to win a prize! This is a three day blog-hop that started on Friday.

IMG_1367

For this project, I choose two stamps from Stampendous; ‘Snow Bird’ and ‘Tis the Season’. I’m also trying out Stampendous’  new ‘Spoonful of Snow’ which is a mixture of embossing powders and elements.

IMG_1368

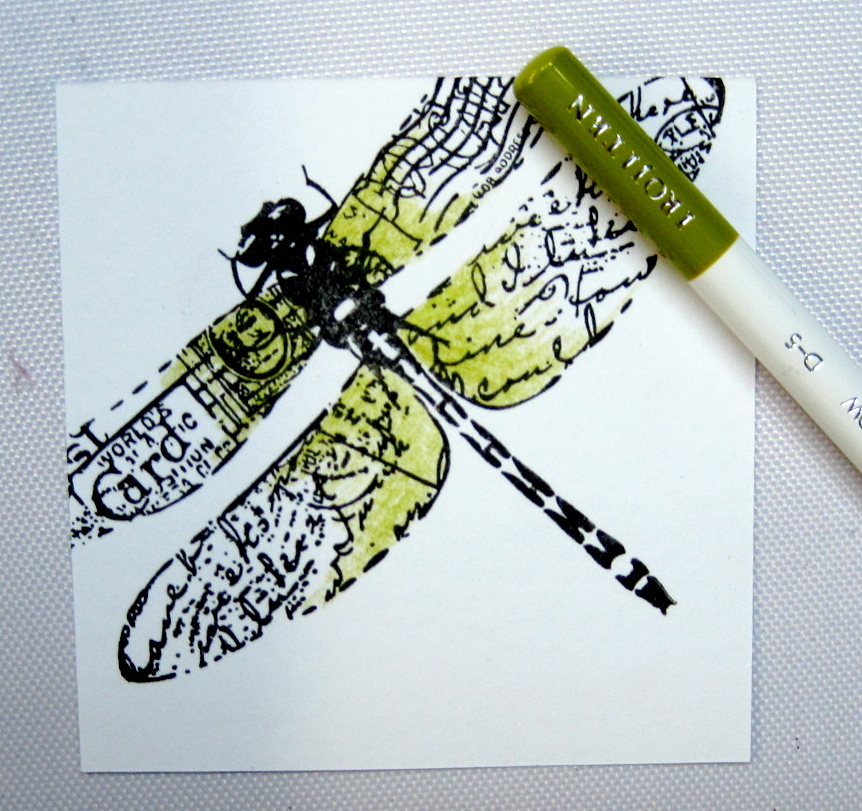
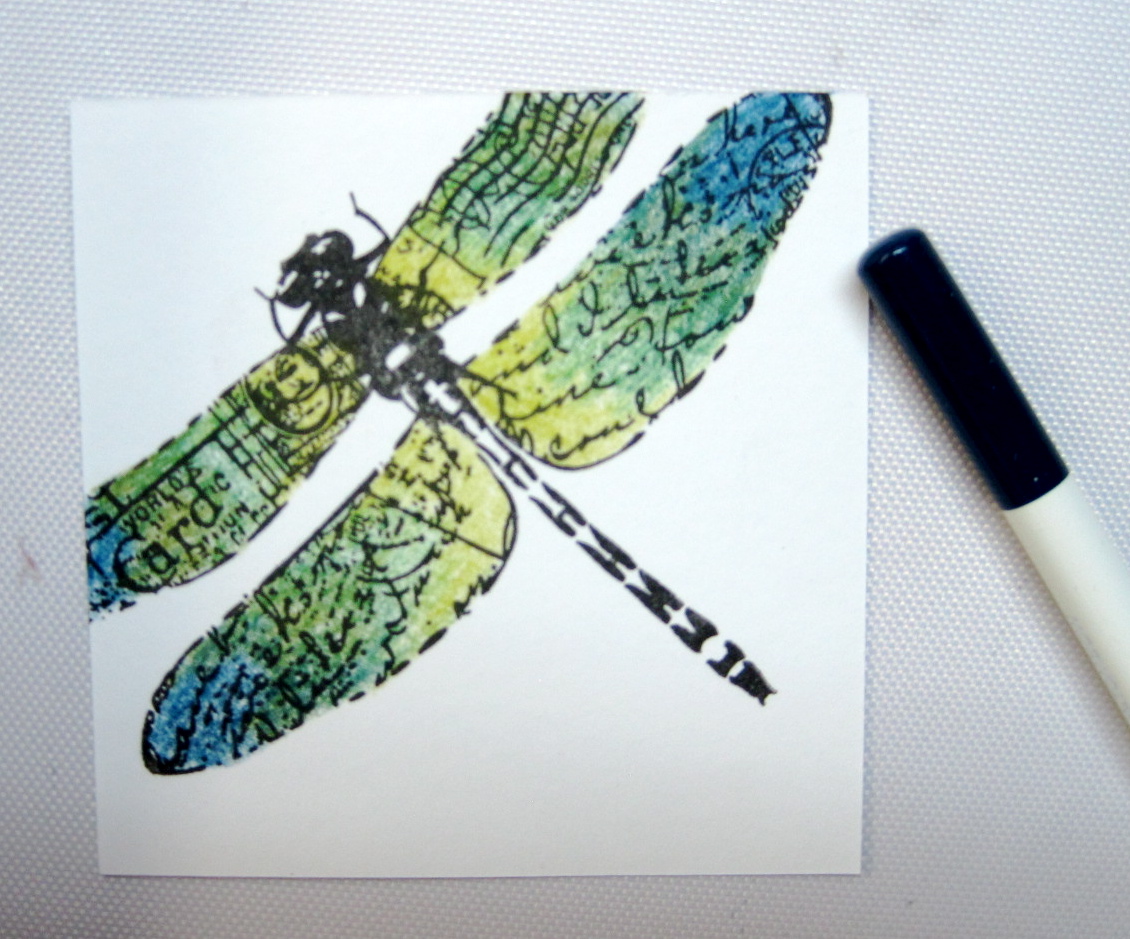
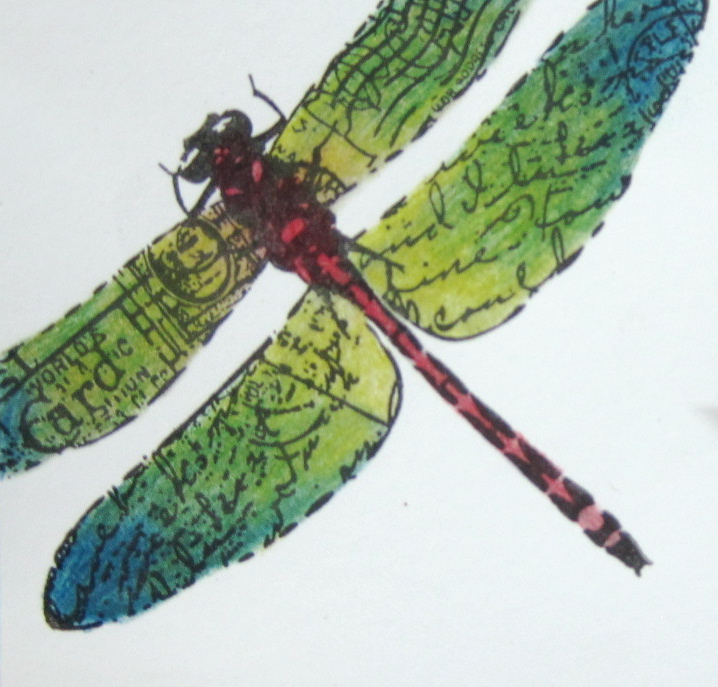
From Tombow I used Irojiten Colored Pencils, Color Pencil Eraser, Ippo Sharpener, Glue Pen and Dots Adhesive.

IMG_1373

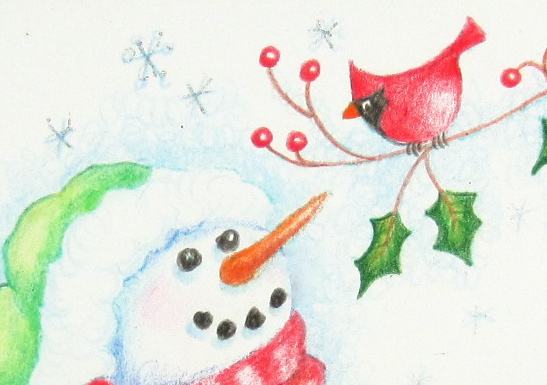
I stamped the Snow Bird onto blue pastel paper with a black ink pad. I then used the Irojiten Colored Pencils to color the bird. The colors blend and layer beautifully, and you get that added bonus of having them work so nicely on colored paper.

IMG_1372

I then used the ‘Spoonful of Snow’ to add the snow. I am really excited about this product, pure genius! Watch this video on how to use it! The Glue Pen was used on the snow on the berries and branches to keep the snow to stay in place, and the rest was sprinkled over the panel. I used a dry, clean brush to remove any bits where I didn’t want it and then embossed from the bottom with my heat tool. The results were spectacular!

IMG_1371

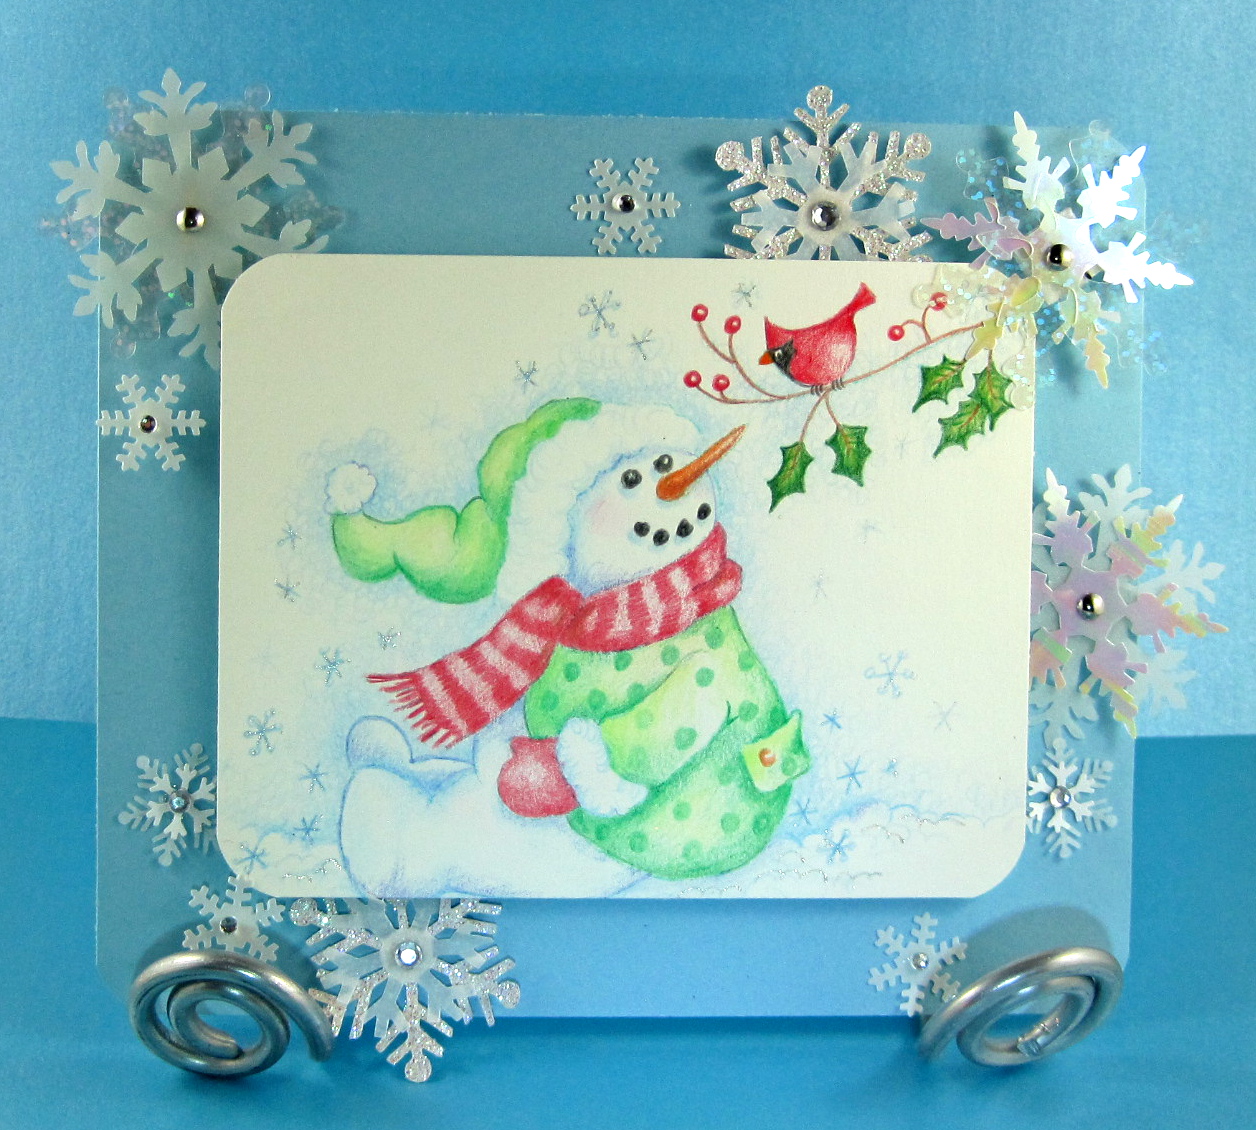
Here is the completed card. I also added a few plastic snowflakes on with the glue pen. The edging was done with a VersaMark stamp pad and dark blue chalk. I really liked how nicely the snow and Irojiten colors look on the blue colored panel!

IMG_1374

Here’s my attempt to show you how sparkly the card is! It’s very sparkly!

Stampendous_hop_prize

In order to be entered to win this amazing prize, Tombow Dual Brush Pens, 10 set Bright and Stampendous! Jumbo Cling Rubber Top Hat Snowman, please comment on all the design team’s projects as well as LIKE both TombowUSA and Stampendous! on facebook! We will be anouncing the winner on Monday, Nov. 24 at 3:30 pm est.

Your next stop is Asia King’s blog to see what she has created for you!


Tombow and Stampendous Blog Hop March 21, 2014

Welcome to the Tombow and Stampendous Blog Hop! If you just came from Jamie Martin’s blog you are on the right track! If not, you may want to start at the beginning at the Tombow Blog!

House mouse chart IrojitenFor this hop, I started by making a new House-Mouse Color Chart using Tombow’s Irojiten Colored Pencils! All the super-cute mice from this very popular Stampendous collection are here! The Irojiten Colored Pencils are so easy to use and blend to add the colors, you will love them for the mice! Here are some cards I made using the House-Mouse Stamps and the Irojiten Colored Pencils. The paper stamped with the images is Mix Media paper from Canson, the decorative paper is ‘My Sunshine Stack’ from DCWV  and the solid colored cardstock from Bazzill.

IMG_3461This card used the ‘Knit Gift’ Stamp and features Amanda and Muzzy. I also used the ‘Friendship Assortment’ Stamp Set for the sentiments. The wool wrapped around the card was a nice extra touch. I love coloring Muzzy with the Irojiten Pencils, it’s fun to add long strike strokes to his fur to make him extra fuzzy! I used the new Xtreme Adhesive to attach the yarn wrapped panel to the card. Tombow’s Foam Tabs and Dots Adhesive was also used.

IMG_3462Isn’t this card cute? I loved coloring it! The stamp is ‘Balloon Trio’ from Stampendous and features Mudpie, Maxwell and Amanda. To make the shiny balloon embellishments, I glued flat clear marbles onto scraps of paper with Multi Liquid Glue. Let dry, cut them out and attach to the card with the Xtreme Adhesive. I also used the Dots Adhesive for the paper panels and added a bit of washi tape for added accent.

IMG_3463My final card was created using the ‘Warm Cup’ Stamp. Here little sweetie Mudpie relaxes in a nice warm mug. I followed the coloring theme and picked nice paper and embellishment colors to match. Again the Dots Adhesive holds the paper panels and a little drop of Multi Glue for the rhinestone.

We will have three lucky winners for this blog hop! The prize includes a Stampendous! Jumbo Cling Stamp, Jumbo Perfectly Clear Handle and a Retro 10 Dual Brush Pen Set!

Blog Hop_Stampendous
To be eligible to win, please comment on each of the designers projects  and don’t forget to “Like” the Stampendous! Facebook Page and “Like” the Tombow Facebook Page. If you don’t have a Facebook, still comment on the projects and Tombow will select someone to win a prize just for playing! Now onto Krissy Fossmeyer’s Blog to see what she has created for us!


Blog Hop with Michelle Woerner November 11, 2013

The fabulous Tombow Design Team is blog hopping this week with talented guest designer Michelle Woerner If you just came from Jennie’s blog you are on the right track! If not, and you want a chance to win a prize, go back to Tombow’s Blog and follow the projects!

IMG_2125I am featuring two stamped tags using a new technique I call “Subtractive Stamping” It’s where you take a piece of patterned cardstock and erase an area using Tombow’s Sand Eraser to prepare an area for the stamped image. The Girl with the Muff was done on a piece of cardstock from Fancy Pant’s Merry Little Christmas collection. I used the Dot Stamp Runner Adhesive to attach the panels together.

IMG_2126Here is a close-up of a stamped bird on sheet music. The stamped image is from Crafty Secrets and the coloring was done with Irojiten Colored Pencils. I accented the branches with MONO Multi Liquid Glue and White Flock powder to simulate the snow.

IMG_2127Want to read all about my new technique and step by step instructions for the tags? make sure to pick up the Winter issue of Paper Creations Magazine available now where you buy your favorite crafting magazines.

Blog Hop_MWTo enter to win the MONO Multi Liquid Glue, Mono Adhesive Removable and Removable refill make sure to comment on all the Design Team’s projects as well as “Like” the TombowUSA and Spellbinders pages on Facebook!

Now go to Michelle’s blog to see what wonderful project she has created!


Blog Hop with Stacy Julian September 16, 2013

This week I am blog hopping with the talented Stacy Julian and the fabulous Tombow design team! If you just came from Jennie’s blog you are on the right track!

IMG_1845This week I travel to Mall of America in Minneapolis for ScrapFest! I will be teach two different card classes; here’s a card from the Holiday Card class that uses cardstock from Fancy Pants Etcetera Collection.

IMG_1832We start by learning how to draw a snowman and then add the doodles. We then jazz them up with brilliant color using Irojiten Colored PencilsRetro Dual Brush Pen set and Blending Kit.

IMG_1827I like to use a light blue Irojiten Pencil for shading the snowman, a nice soft effect and easier for beginners to shade.

IMG_1828I then use the brush tip of the Dual Brush Pens to color in the accessories. The snowman gets a light blue ‘halo’, and then cut out and attached to the card using Foam Tabs.

Blog Hop_SJNext go to Stacy’s Blog and see what she has created for you using Tombow products! Be sure to like both Tombow USA and Stacy Julian on Facebook! Then comment on the posting to win a new Blending Kit, Retro Dual Brush Pen Set and Irojiten Color Dictionary Pencils Volume 2.


New Class at My Creative Classroom! June 21, 2013

IMG_9970

I have a new class debuting on My Creative Classroom called Tombow Pencil Magic. The class starts July 4th and sign up has started. Early enrollment cost is only $25 for this 4 week class.

IMG_6176
You can’t use the excuse that you don’t know how to draw to produce beautiful drawings! Take your art a huge leap forward by learning in a stress-free atmosphere about graphite pencils and traditional colored pencils.

IMG_5687

We will be using top quality, artist grade pencils from Tombow to insure your success. I have hints, tricks, and brand new techniques to share with you! Even if you have taken my Colored Pencil class, you will be learning some new techniques and going into more depth with this medium.

IMG_4640

Prepare to be wowed with Zero Drawing, scrumbling and other pencil techniques while you use your collection of stamps and stencils to create beautiful drawings! Hope to see you in the classroom!

If you enjoyed this post please follow me on:

Facebook

facebo

Twitter

twitter


Framed Drawing by Marie Browning May 13, 2013

Welcome to the Tombow Blog Hop! If you have come here from Jennie’s blog then you’re on track!

IMG_1298
I had a small drawing (okay, a stamped and colored drawing!) that needed a frame. I found a nice broad-framed mirror from Ikea that I stamped, colored and decorated to display the little sketch.

IMG_1302

The drawing was simple – I used a favorite stamp from JudiKins and stamped the image onto drawing paper using a light gray stamp pad. I then used the Irojiten Colored Pencils from Tombow to color and add the decorative strokes. I used a varied stroke for the hair and crosshatching to shade.

IMG_1299

I then stamped the frame, right onto the raw wood, using a sepia stamp pad. I then colored the stamped images with the Irojiten Colored Pencils. It was amazing how beautifully they went on and how quickly a little color can add beauty to the finished look. I also used a colored pencil to add the crosshatching shading around the images to match the drawing. I used a Sanded Eraser to distress some of the stamping for a great antique look.    The frame was then finished by adding washi tape for the borders and a raised plate using Foam TabsA few Power Tabs held the black satin picture bow to the back of the frame securely.

IMG_1303

Be sure to visit all the projects featured this week and leave a comment for your chance to win!  We will be giving away an amazing prize pack of Tombow Dual Brush Pens Jewel 6 set, Mono Adhesive Removable, Mono Adhesive Permanent and our 3-D Foam Tabs.
The more you comment, the more chances you have to win!

bloghop_KW

Now head on over to Kristina Werner’s Blog and see what beautiful creation she has made for the hop!

The winner will be announced Friday May 17th  at 3:30 P.M. Eastern Time.

Thanks for joining us!

vwp_0507.jpgsignature 2

If you enjoyed this post please follow me on:

Facebook

facebo

Twitter

twitter


Snowman Drawing January 30, 2013

I have discovered a great source of patterns for drawing with the Irojiten Colored Pencils! Decorative painting books and magazines are great for finding all sorts of beautiful patterns to transfer onto paper and color.

This cute snowman patterns comes from Bev’s Johnston’s “Starlight Wishes” Book One. Originally designed for decorative painting and to be used with acrylic paints, it works great as patterns for Colored Pencils drawings as well.

I used blue tracing paper to transfer the design onto smooth, 90 lb. watercolor paper, but you can also use a light box to trace the design with a blue hued Irojiten pencil.You can find all colors of tracing paper at your favorite fine art or craft store, use the color that works best with your drawing and always use a light hand when tracing.

I decided to display the finished drawing and first cropped it to size and trimmed the corners with a corner rounder punch. I use Foam Tabs to mount the drawing on a piece of light blue cardstock and MONO Multi Liquid Glue and Foam Tabs to adhere the snowflakes and rhinestones.

I was happy with the finished results and plan to go through my decorative painting books for even more patterns to use!


Irojiten Workshop July 9, 2012

Ready to learn everything about Irojiten colored pencils? Join me for a class at My Creative Classroom!

Learn all the best techniques using premium quality Irojiten Colored Pencils from Tombow. ‘Irojiten’ is ‘Color Dictionary’ in Japanese and I will teach with you the meaning of colored pencil techniques such as layering, blending, scrumbling and impressed.

We will work on stamped images and create a finished card with each technique. Learn to tint photographs with colored pencils and create beautiful effects for all your paper art projects. Beginners as well as advanced paper artists will have no problem in this class!

See you in the classroom!

If you enjoyed this post please follow us on http://www.facebook.com/tombowusa and http://twitter.com/#tombowusa


Blending with Irojiten Colored Pencils March 18, 2012

Here’s a step-by-step blending and layering with Tombow’s new Irojiten Colored Pencils. These high quality colored pencils are beautiful to use and the colors are really yummy! I colored the stamped image with the Deep Tone I colors from the Irojiten Rainforest Edition.

For the wings I used the green/blue hues: D-5 olive yellow, D-7 forest green, D-6 elm green and D-8 Midnight Blue

Start with a light touch and your lightest color. Blend following the contours of the image. It’s important to blend softly at first, then intensify the color with additional layers and harder pressure.

Here the additional colors have been added, still using a light touch and softly blending one color into the next.

Layer and blend with a harder pressure on the wings until you get the color intensity and blending you want. For the dragonflies body I used D-2 Chestnut Brown. The color is again added softly, and then layered until it’s darker at the top and shaded lighter towards the bottom. The strong point strength and precise engineering of Irojiten Colored Pencils means you can press rather hard with the pencils to get that deep color at the completion of the blending. This also means no more annoying breaking of the lead, even when sharpening in an electric sharpener!

A great tip for blending the color and removing any strokes is to use the colorless Dual Brush Blender Pen. It works nicely to blend and brighten the Irojiten colors.

Here is the finished colored image – beautifully blended and color layered with Irojiten Colored Pencils.

If you enjoyed this post please follow us on http://www.facebook.com/tombowusa and http://twitter.com/#tombowusa
 

There’s no place like home! February 11, 2012

This simple card was colored using the Irojiten Colored Pencils and put together with the Permanent Stamp Runner and Foam Tabs. I love my new Wizard of Oz stamp set from Crafty Secrets – where I also found the cute shoe pattern for the ruby slippers. The pattern is found on the Creating with Vintage Illustrations CD.

The Irojiten Colored Pencils work especially well when you want to use a colored paper panel. I did a simple layered and blending coloring using the following Irojiten colors: Chartreuse Green, Olive Yellow, Cactus Green, Celeste Blue, King Fisher, Cherry Red, Gamboge, Bamboo, Terra Cotta, Chestnut Brown, and Ivory Black.

I then used the Permanent Stamp Runner and the Foam Tabs to attach the panels and the embellishments. Not a terribly exciting card with a cool technique this week – I just really wanted to do something that I could display with the ruby slippers!

One of the best features of the Irojiten Colored Pencils are how smoothly they apply the strong pigmented color – so even beginning card artists find them super simple to use. Careful sharpening? Not with Irojiten Colored Pencils! The colored lead never falls out even when you use an electric sharpener or carry them around in your art-to-go bag! Sah-wheet!

As the scarecrow stated: “If I only had a brain!”

If you enjoyed this post please follow us on http://www.facebook.com/tombowusa and http://twitter.com/#tombowusa