Marie Browning

"Inspiring and honoring creativity"

Blog Hop with the Frugal Crafter! October 24, 2014

IMG_1277

This week we are blog hopping with guest designer Lindsay Weirich, also known as the Frugal Crafter! I have a new DoodleDab for you, “Willow in the Wind” done in Autumn hues to accent a card. If you just came from Jennie Garcia’s blog you are on the right track. If not, you may want to start at the beginning here at the Tombow Blog so you are eligible to win the prize!

IMG_2538

IMG_1278

Here are the step outs for the DoodleDab. Remember to turn the paper so it’s easy to place the teardrop strokes. For the accent on the card I used the colors from the Dual Brush Pen Set, Muted Colors. 

IMG_1279

I added color to the photograph using a few matching colors of Irojiten Colored Pencils.

IMG_1281

The panels were attached using the Xtreme Adhesive and the photo panel popped up with Foam Tabs. I used my Envelope Punch Board to create a matching envelope. The Xtreme Adhesive is  perfect for constructing the envelope instantly and securely! Don’t forget to add more DoodleDabs to decorate the panel on the envelope!

Bloghop_FC

In order to be qualified to win this amazing prize, a Dual Brush Pen Set, Muted Colors, please comment on each of the designer’s projects. We will announce a winner Monday Oct. 27.

Your next stop is Lindsay’s blog, our guest this week to see what wonderful creation she has for you!


Parks and Recreation Blog Hop September 26, 2014

IMG_1239


Welcome to Hydrangea Hippo’s Parks and Recreation Blog Hop! I created a personalized clip board; what every recreational programmer needs (especially if you have political aspirations!) using Fancy Pants’ Timbergrove Collection and Tombow Adhesives.

IMG_1242IMG_1243


I decorated both the front and the back of the clipboard with the papers and embellishments. I love when paper collections have everything you need to make it fun and simple to coordinate your project!

IMG_1244

To start, I covered both the front and back with paper using MONO Aqua Liquid Glue. It’s a perfect paper to wood glue that goes on smooth with no wrinkles. The photo, frame, tickets and smile panel were attached using the MONO Adhesive Dots Runner. 

IMG_1245

Any heavier embellishments, like this button on the metal clip, are attached using Xtreme Adhesive. This high performance adhesive is 5x stronger than standard tape runners!

IMG_1246

For that finishing touch, I attached a pen to the board using a Fastener Tab.  These hook and loop tags are ultra thin with a long-lasting grip that can be pulled apart and stuck together as often as you like. A very handy way to have your pen always at the ready! I used one of favorite Tombow pens, the Zoom 727 Ballpoint.

IMG_1238

Another quick and fun project using Tombow Adhesives!


Sticky U Project with Xtreme Adhesive August 25, 2014

Filed under: Mixed Media,Tombow Adhesives — mariebrowning @ 3:01 am
Tags: ,

IMG_1001

For my Sticky U project using Tombow’s Xtreme Adhesive I decided to really test it on different surfaces. I have been wanting to decorate a mason jar with an forest bird theme, so I started by filling my jar with moss, a plastic egg and a birdcage with a pretty verdigris patina. 

Now to test the Xtreme! Ribbon to Glass: perfect! I applied the Xtreme to the ribbon and it was easy to attach instantly with a strong bond and no mess! 

IMG_1003

Trim to Metal: Perfect! I added a circle of burlap to the top be adding the Xtreme to the metal surface. For the lace I attached the Xtreme to the trim and then added it to the rim. On an open weave like this lace, the Xtreme only adhered to the lace, leaving the open spaces free of excess glue.

IMG_1004

Cork to Glass: Perfect! Trim to Ribbon and Cork: Perfect! Again, the Xtreme adhered to the Rick Rack with no excess on the edges! Perfect adhesion! 

IMG_1006

Paper to Cork and Paper to Paper: Perfect and Perfect! This was such a quick project as the adhesion for everything was quick and held strong from the get go! 

IMG_1007

My finished project! It’s going to live at my desk to remind me of my weekend walks/runs with my husband. Here’s a photo of my inspiration:

IMG_0932

Moss is a huge trend right now, and as you can see I am surrounded by it on Vancouver Island. However, I still buy it from the floral department at craft stores. Why? Moss contains hundreds of bugs that will hatch when you bring it indoors, you also destroy sensitive ecosystems by gathering it yourself. Better to buy it already treated and sensibly collected from logged areas. 

IMG_1020

Tombow’s Xtreme Adhesive gets a big thumbs up from me! 


Blog Hop with Tombow, DCWV, & May Arts June 23, 2014

Blog-hop+DCWV+MayArts+Tombow

Welcome to the Triple Threat Blog Hop with DCWV, May Arts and Tombow! All this week designers from these great companies will be sharing projects using DCWV’s Honey Chic stack, beautiful ribbon from May Arts and adhesives from Tombow.

If you have come here from Valerie’s Blog, then you are on the right track! If not, you can go back to any of the company websites and start the hop from there!

IMG_0678

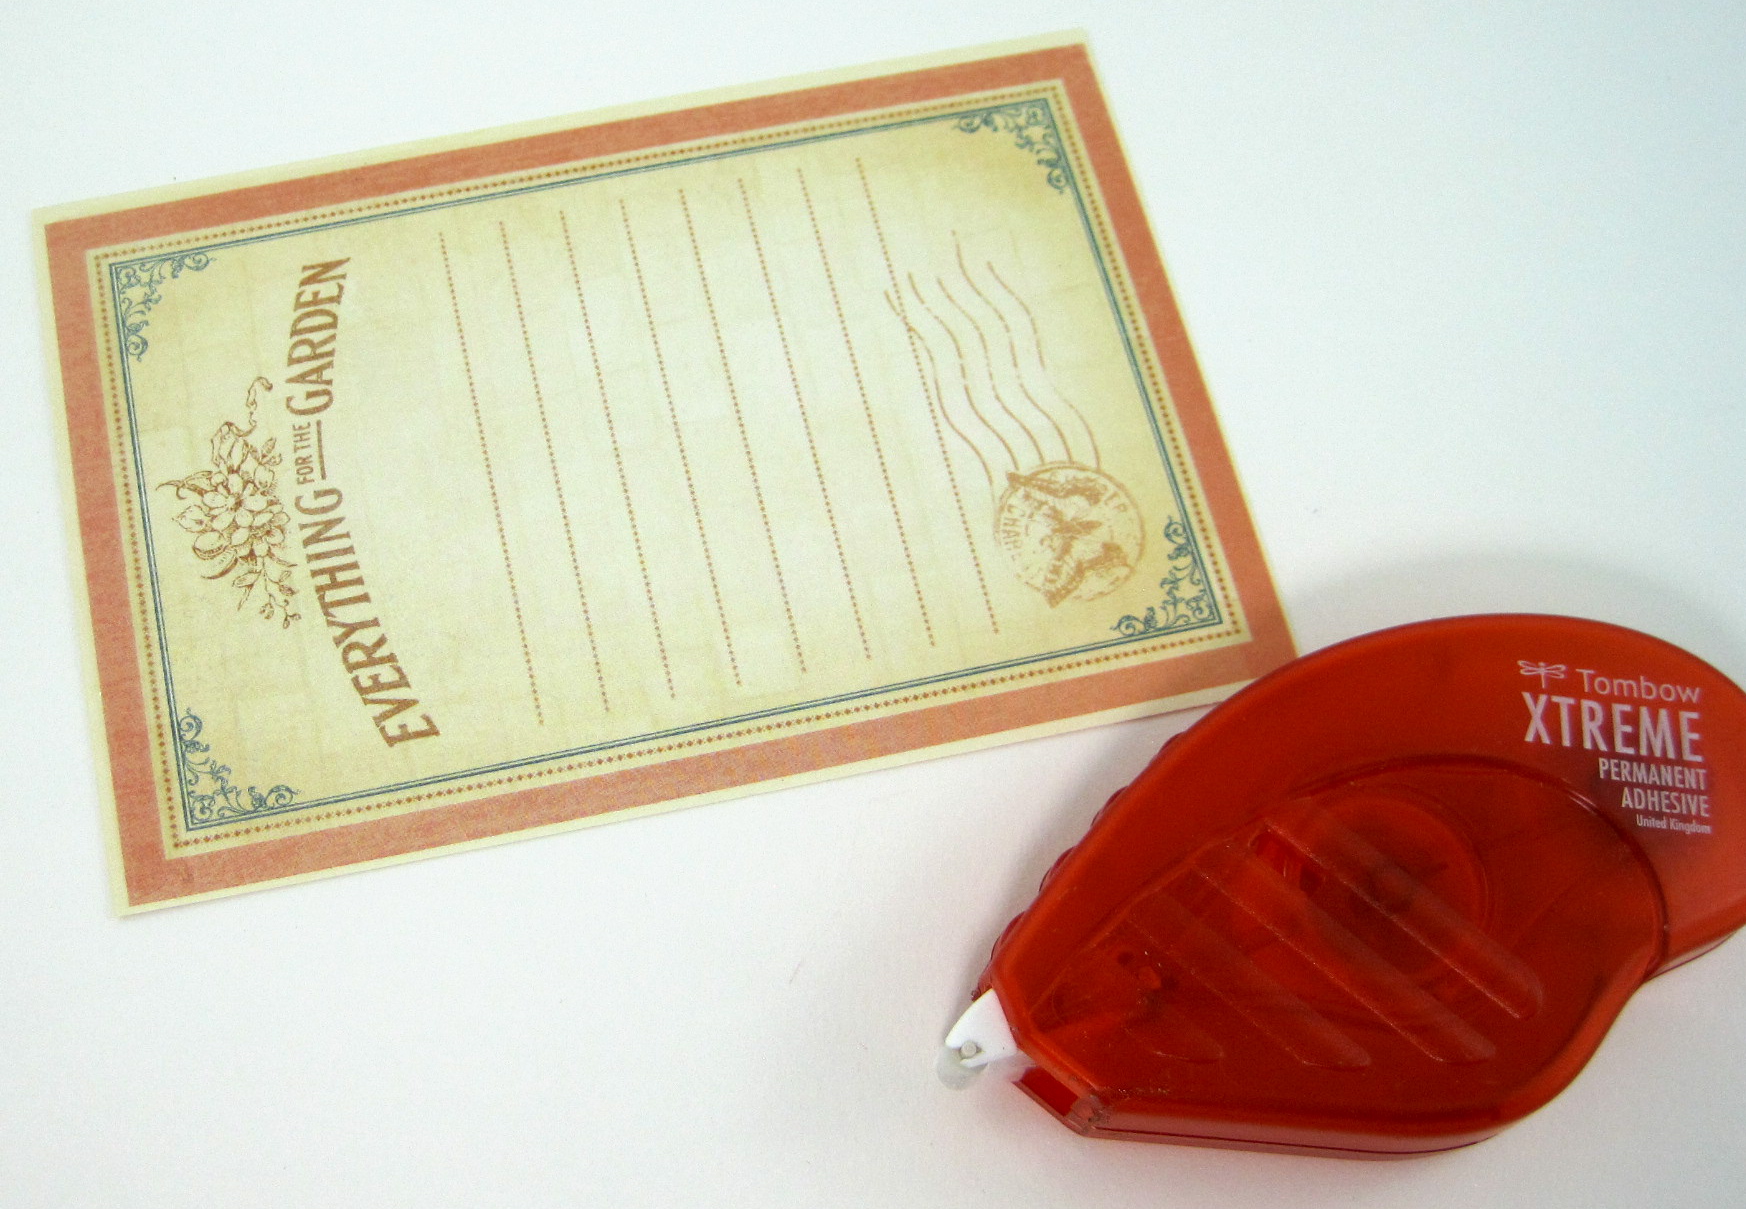
I have designed three pages for the hop including some hints on adding ribbon and trims. On this page, diagonal striped cardstock was used as a base with coordinating papers from the stack. The cardstock panels and photo were first arranged using the Removable Adhesive to plan the page design. For the permanent bond, Permanent Adhesive was used.

IMG_0678

I attached teal satin ribbon using Xtreme Adhesive for a quick and secure bond. Multi Liquid Glue was used to glue small motifs from the paper under clear cabochons to create the floral embellishments. Multi dries quickly and crystal clear, perfect for this task.

IMG_0676

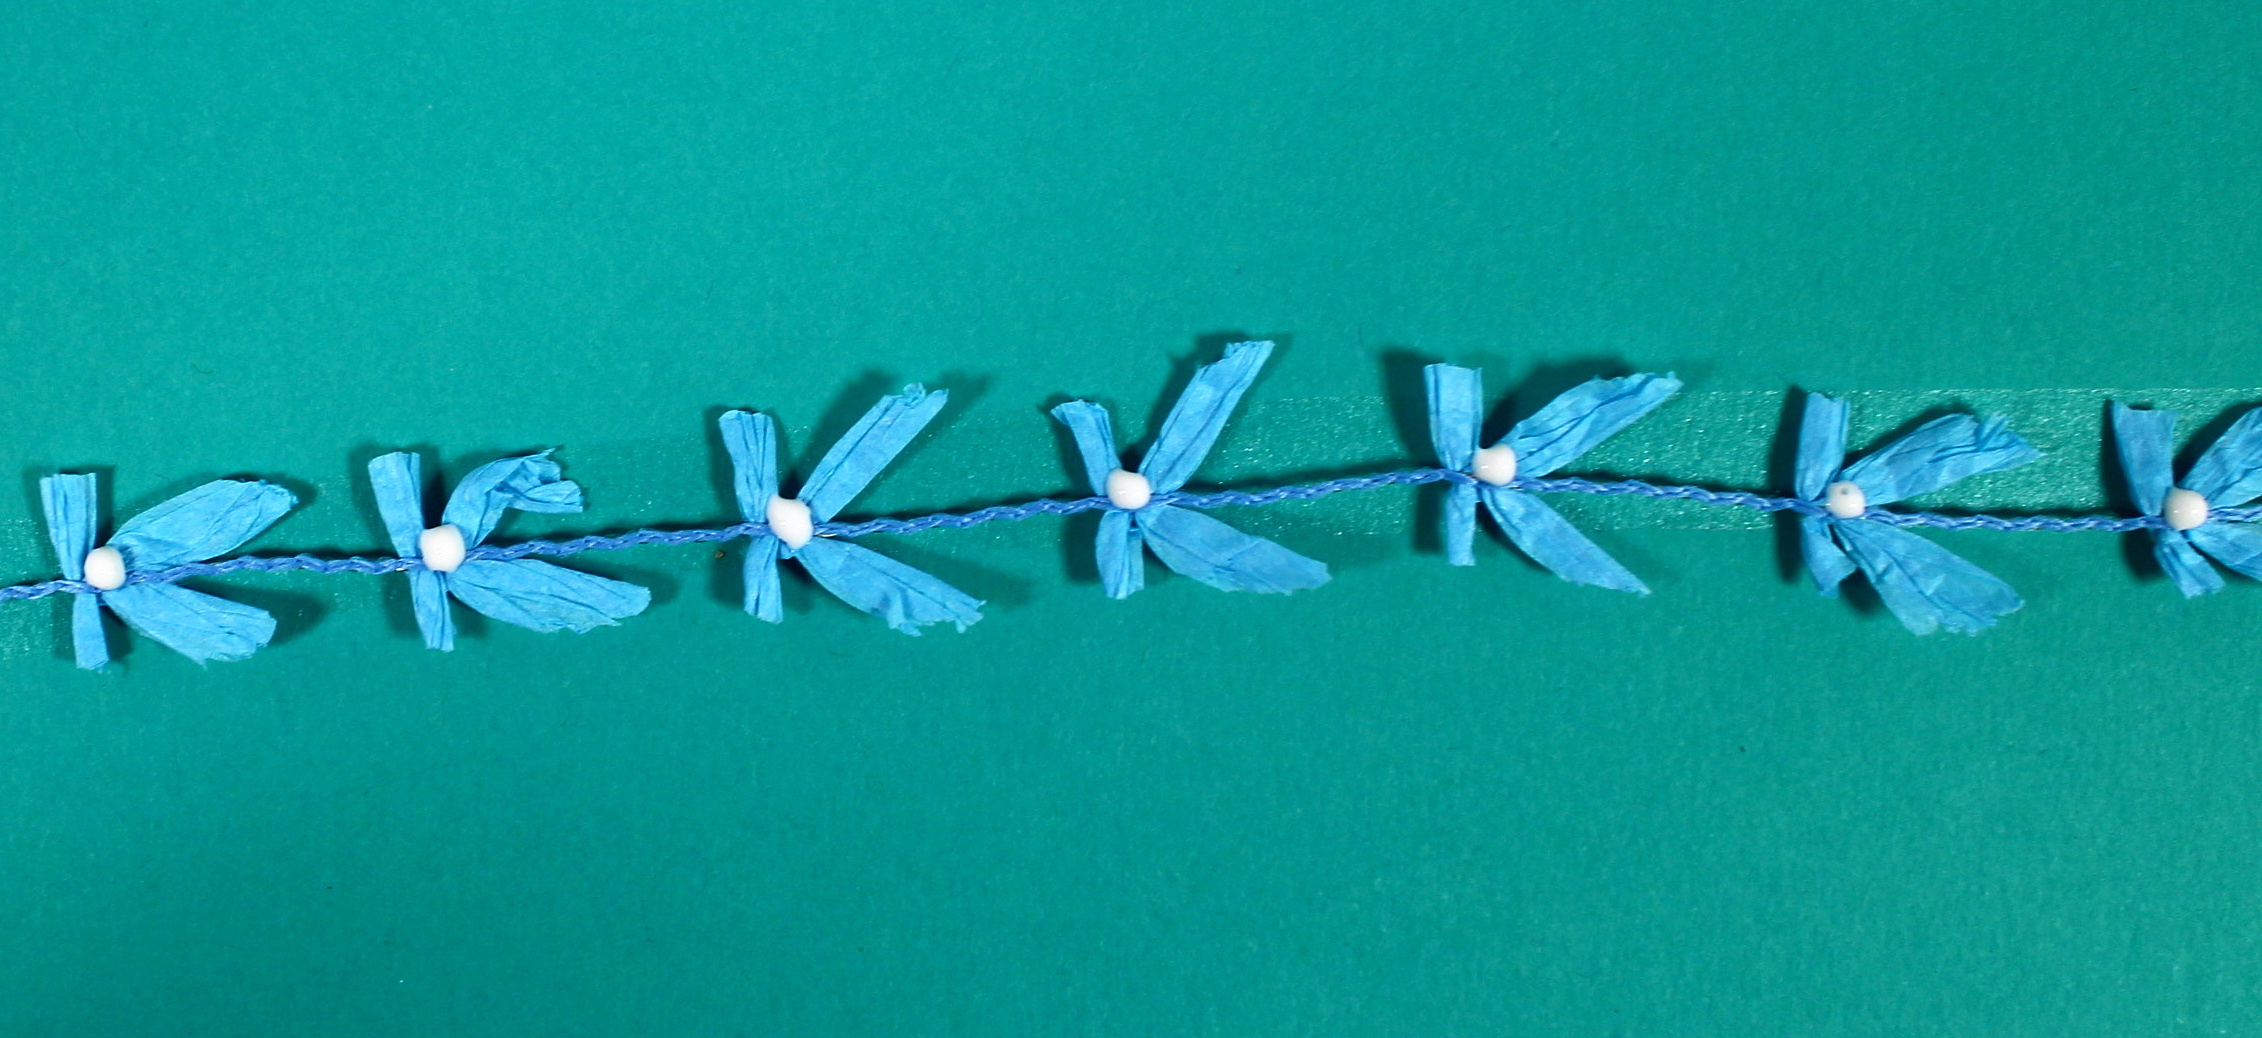
To manage the Light Blue Raffia Bow trim, I adhered it, right side down, to a scrap piece of paper using the Removable Adhesive. Then with the Multi Liquid Glue, I added a tiny drop of glue to each bow and let dry clear. It was then super easy to attach it exactly where I wanted it without any excess adhesive showing – a perfect solution for hard to attach ribbon and trims!

IMG_0679

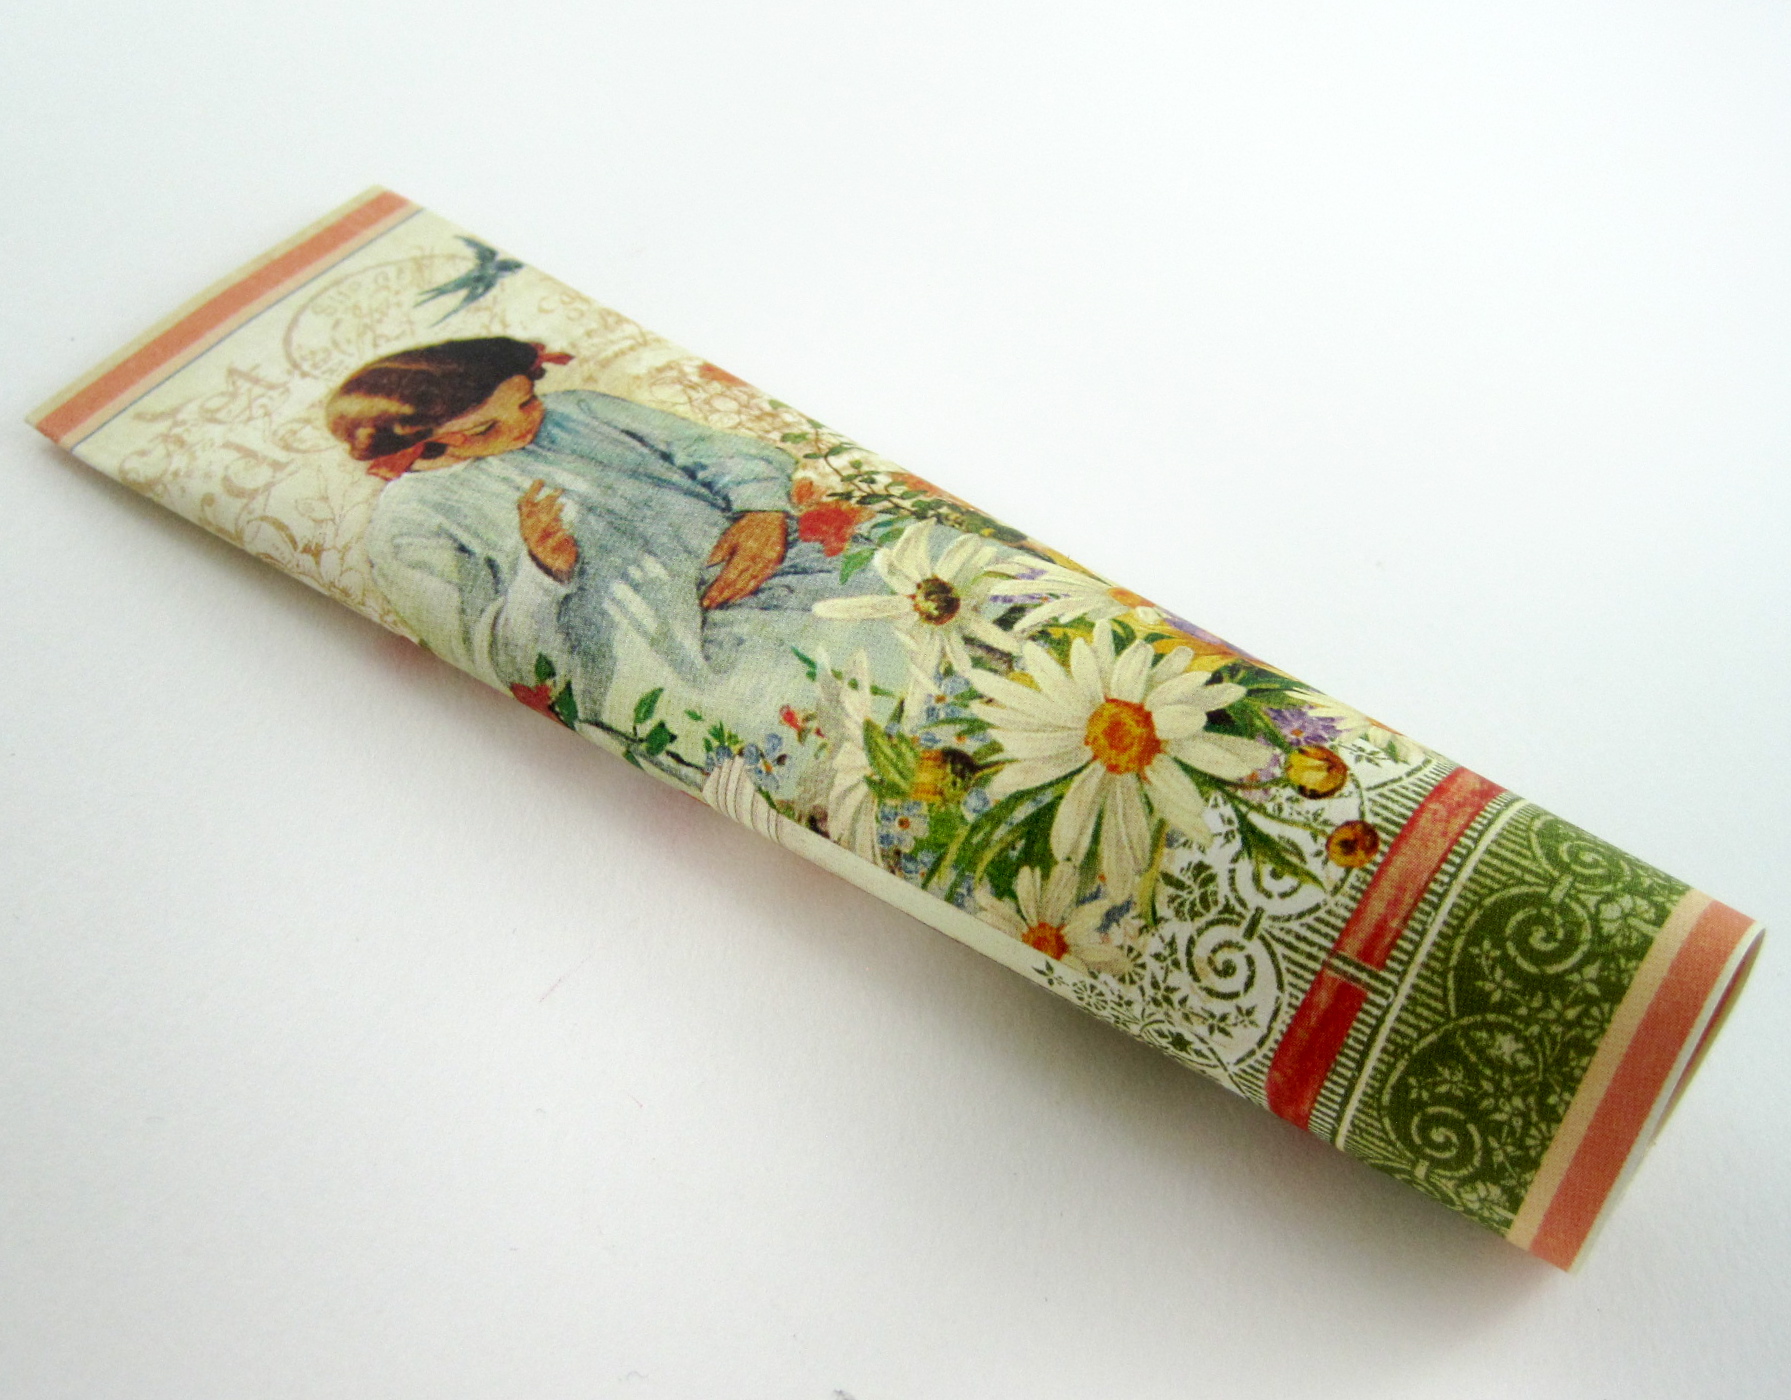
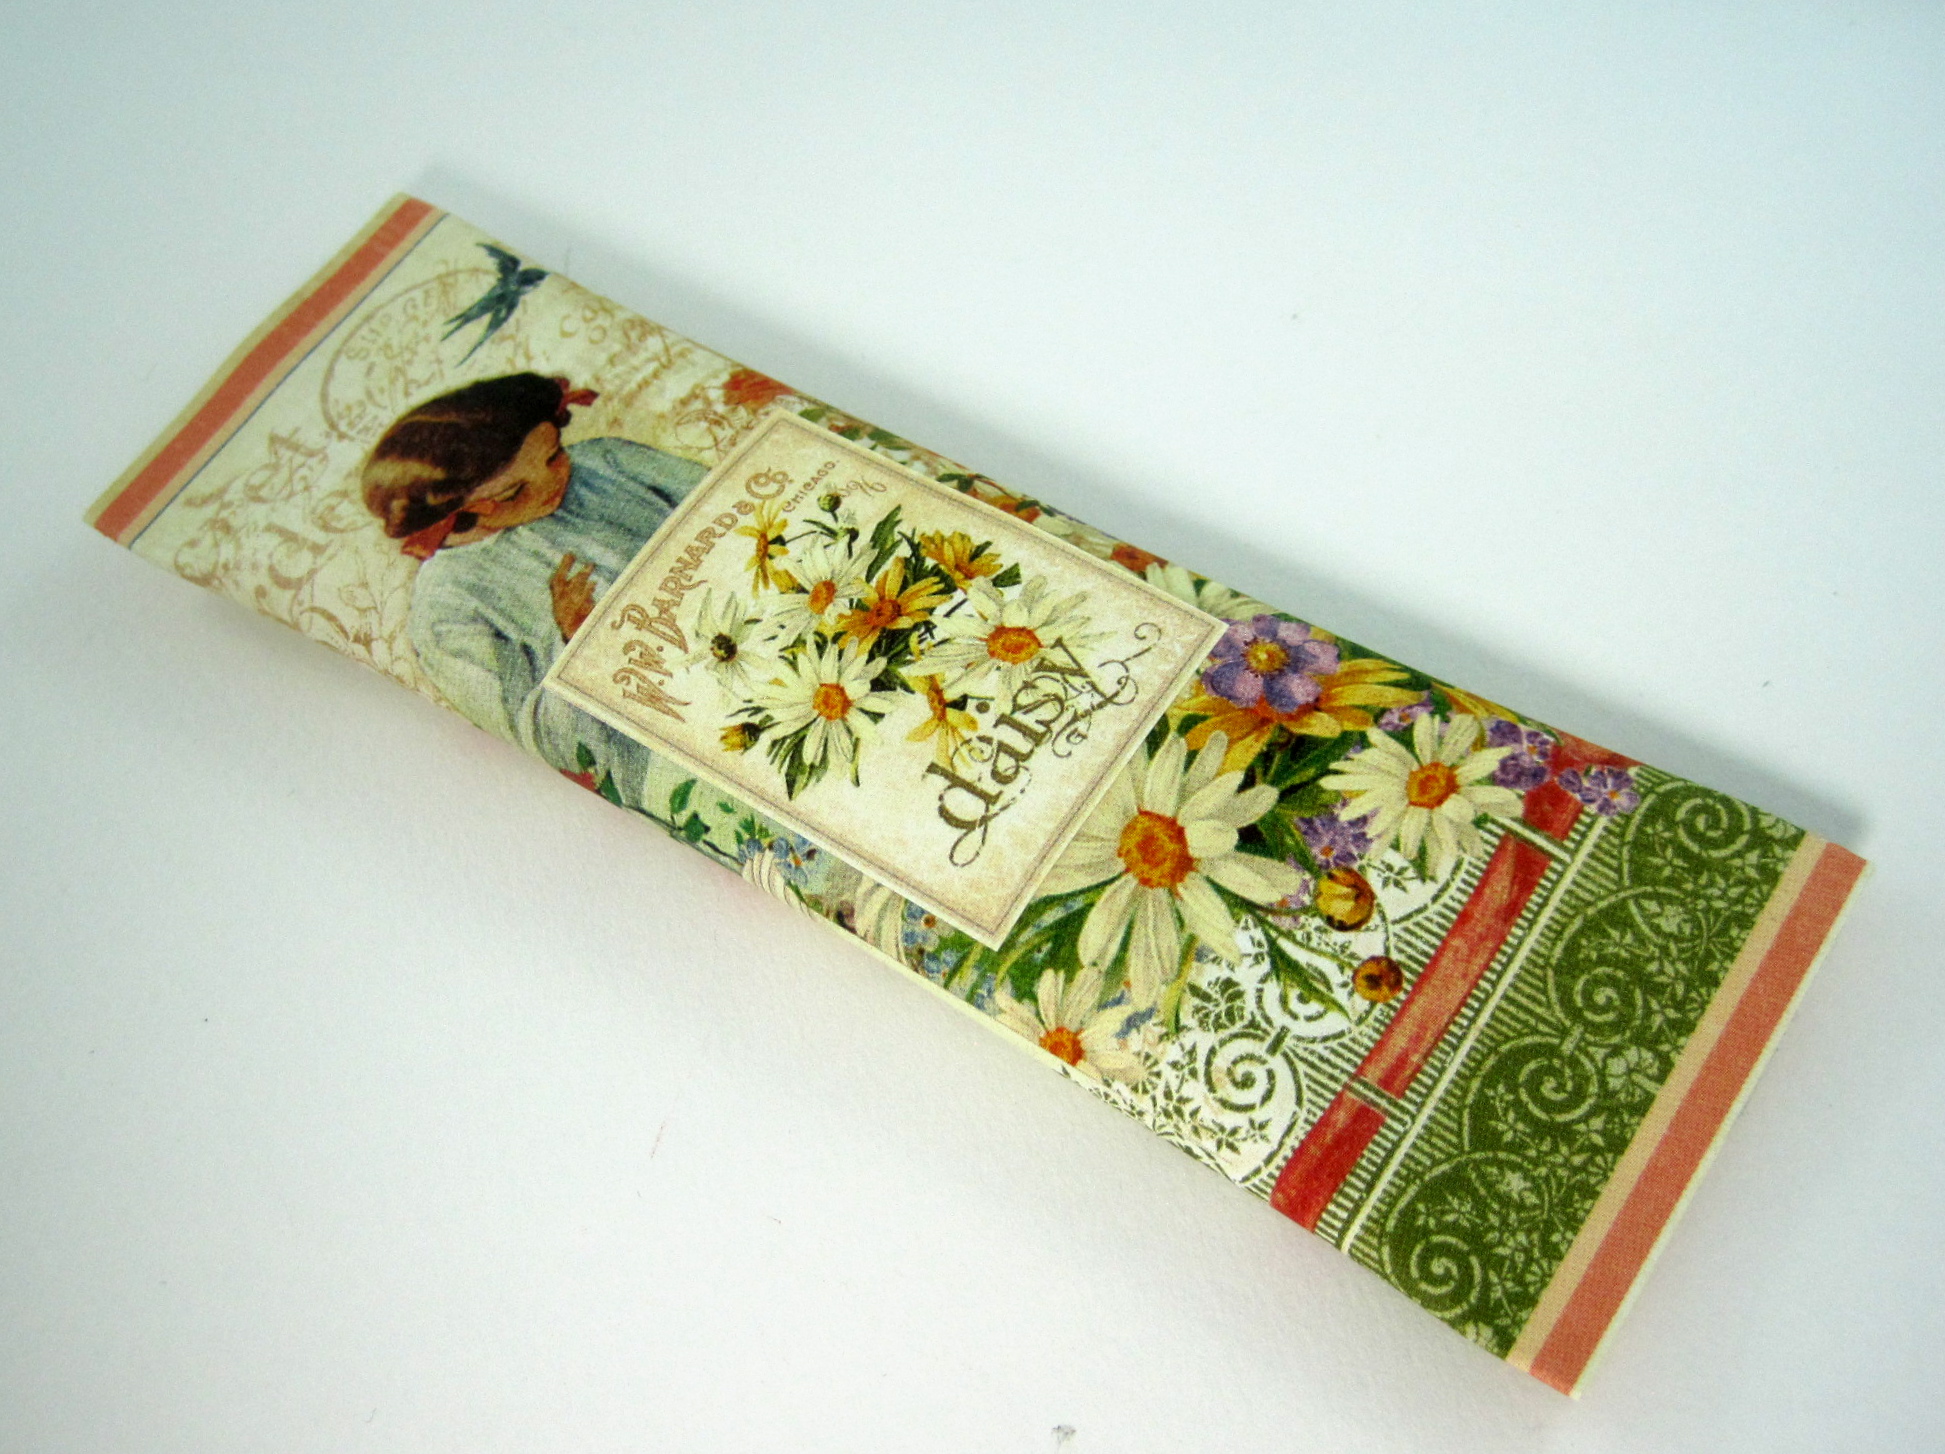
It was fun to choose different papers from DCWV’s Honey Chic Stack, I was always able to match my  photos!

IMG_0679

The blue flat marble embellishments were done using the Multi Liquid Glue and the paper panels again arranged using the Removable Adhesive. With the Yellow sheer ribbon with butterflies, a strip of Xtreme Adhesive was added to the page and then the ribbon was ‘messy pleated’ in place. I also added the Green with polka dot ribbon and the yellow tulle gathered under the journaling panel with the Xtreme Adhesive. The final placement of the panels were adhered down using both Dots Adhesive and Foam Tabs.

IMG_0677

This final page used the same techniques. Xtreme for the flat ribbon, Multi to create the acrylic gem embellishments and the Multi glue technique for the diamond chain. I loved the cute canvas with bunnies ribbon and the sparkly diamond chain from May Arts Another notable hint is to use Aqua Liquid Glue on ribbon ends to prevent them from fraying! IMG_0677

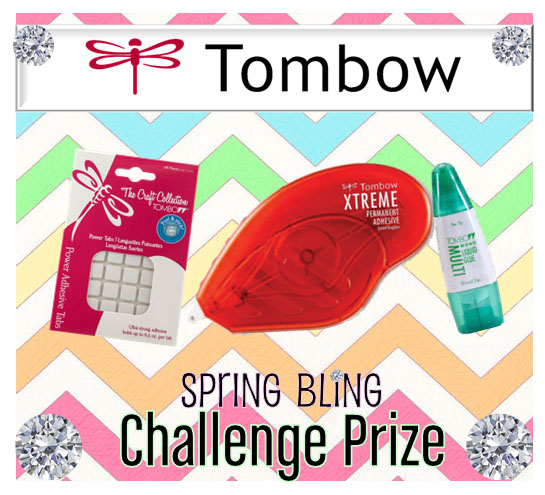
Be sure to visit all the blogs today and leave comments for your chance to win some great prizes! Three lucky readers will win a Triple Threat prize pack of you own, including a stack from DCWV, a spool of ribbon from May Arts and Xtreme Adhesive, Power Tabs, Removable Adhesive and Fastener Tabs from Tombow. Winners will be chosen from comments throughout the week, so make sure you check back daily to increase your chances of winning! Also, please make sure you have popped on over to Facebook and “liked” each of the company pages (DCWV / May Arts / Tombow), because really, what’s not to like?!

Now, head on over to Rita’s Blog to see what kind of craftiness she has in store!


Blog Hop with Elizabeth Craft Design April 20, 2014

Thanks for joining us with the Tombow and Elizabeth Craft Design Blog Hop! If you just came from Kelly’s blog, you are on the right track! If not, you may want to start here to be able to win a great prize!

IMG_3509

I created several pieces for the hop. This card is a cute little owl that used the silver Owl Circles peel-off colored with the Dual Brush Pens on Watercolor Paper. The background panel is blue pearl paper embossed with the Flower Mosaic Embossing folder. The panels are attached using the Dots Adhesive and Foam Tabs give a fun dimension to the finished piece. I also used Mono Multi Liquid Glue to attach the Happy Birthday die cut and googly eyes.

IMG_3511

This card looks great in person! The subtle coloring with Dual Brush Pens on the silver Dragon ladies peel-off contrasts nicely with the dark background. After coloring, I cut the dragonfly lady out and attached it to the front panel using Foam Tabs and Mono Multi Liquid Glue for dimension. The peel-off sheets come with smaller details to make your finished creations ‘pop’ with these layered pieces. I used the Happy Birthday die and lots of rhinestones in the peel-off boarder and smaller embellishments. The Mono Multi liquid glue was used to attach this extra bling.

IMG_3513For my final project I used a gold Owl Circle peel-off colored with the Dual Brush Pens. Again, both  the Dragonfly Lady and Owl were done on Elizabeth Craft Design Watercolor Paper. I glued it on a dollar-store memo pad with the New Xtreme Adhesive. A little bit of washi tape around the edge and it’s done! It would make a great gift for the upcoming Administrative Professionals Day along with a Fine Pen from Tombow!

Blog Hop_ECD_2Look at this wonderful Prize you can win! From Elizabeth Craft Design, a selection of Peel-Off stickers, Watercolor Paper, Double-Sided Adhesive Sheets, Congratulations Die, Stand Up Helpers Die Set and Warm Diamond Silk Glitter. From Tombow the new Xtreme Adhesive and the 10 pack Retro Dual Brush Pen Set. 

In order to win the prize, please comment on all the Design team’s projects this week as well as “LIKE” tombowUSA and Elizabeth Craft Design on facebook.

Next, on the hop is Karen Aicken  


Blog Hop with Regina Easter April 11, 2014

Welcome to the hop! We will be hopping with the Tombow design team and guest designer Regina Easter! If you just came from Jennie’s blog you are on the right track! If not, you may want to start here.

IMG_3499I got these wonderful stamps from Indigo Blu and used them to create a colored string for  Zentangle inspired cards. It was so easy and fun to create them.

IMG_3495Choose your colors of Dual Brush Pens and color the stamp. I like to use a combination of at least three colors for the flower and two colors for the leaves for a nice variety.

IMG_3496Next, use the mister filled with water and spritz the colored stamp.

IMG_3497IMG_3498Stamp the image onto a piece of smooth watercolor paper. The Dual Brush Pen colors stay nice and brilliant! To define the strings in the flower, refer to the stamp package and use the MONO Twin Permanent Marker when the image is completely dry.

IMG_3501IMG_3500

Here is the finished card complete with tangles and a saying around the edge. As I used a heavy watercolor paper, Xtreme Adhesive was perfect to attach the finished panel to the card.

Blog Hop_Regina Easter

Look at this great prize pack! The new Xtreme Adhesive and refillRemovable Adhesive and refill. To enter to win from Tombow, comment on all the  projects and “Like” Tombow USA and the Cutting Cafe on Facebook. Next go to Regina’s blog to see her beautiful creation!


My Mind’s Eye and Tombow Blog Hop March 30, 2014

Welcome to the My Mind’s Eye and Tombow Blog Hop! If you just came from Lea Lawson’s Blog you are on the right track. If not, you may want to start here.

IMG_3471I LOVE the ‘Now and Then’ Collection from My Mind’s Eye and I especially love all the coordinating embellishments that make designing  pages a breeze! IMG_3470I started with my chosen photograph and hand colored it to fit the color theme. I used Irojiten Colored Pencils to adjust and change the coloring to make it fit perfectly. I printed out the photograph onto Canson Mix Media paper. I also cropped the photo and faded the color before printing. IMG_3472Next I choose the Irojiten colors to match the collection’s palette. I didn’t use every color, but it was nice to develop a complete palette for future creations. The Irojiten colors to match the Now and Then collection are as follows: D-1 Crimson, V-2 Tangerine, P-3 Shell Pink, P-13 Gamboge, Lg-7 Quartz Green, Lg-8 Porcelain Blue, DI-7 Jay Blue and P-10 Pigeon Gray. Choose from  any of these palette colors and color your photo with a light blending.

IMG_3469To put the page together, I started with the paper panels and arranged them using the Removable Adhesive. This allows me to move them around but stay in place as I create. After permanently adhering the pages down with Dots Adhesive, I added the ‘Now and Then’ Embellishments. I used Chipboard Elements, Label Stickers, Small Flair Pins, Decorative Brads, Word Stickers and the 3×4 Cards. I especially loved the My Mind’s Eye Enamel Dots to add that finishing touch! For some pieces I used Foam Tabs to create a very dimensional arrangement.

IMG_3467IMG_3468I decided to mount this page onto a canvas. I edged the canvas by cutting 2″ strips of cardstock, scoring them and attaching them with Xtreme Adhesive. I added details with some Now and Then Washi Tape to give the corners a finished look. I then mounted the page onto the canvas with the Xtreme for a strong and permanent display. Remember when using the Xtreme to ‘slide to the side’ after applying the adhesive and before lifting.

Blog Hop_MMELook at the fabulous prize you can win for playing with us! My Mind’s Eye Charmed Collection, Tombow’s New Xtreme Adhesive, MONO Multi liquid Glue, and  Irojiten Colored Pencils!

To be eligible to win, please comment on each of the designers projects and don’t forget to “Like” My Mind’s Eye on Facebook Page and “Like” the Tombow Facebook Page. If you don’t have a Facebook, still comment on the projects and Tombow will select someone to win a prize just for playing! Commenting for your chance to win this blog hop prize will end March 30th at Midnight EST! We will announce the Winner on March 31st via our Social Media outlets!


Tombow and Stampendous Blog Hop March 21, 2014

Welcome to the Tombow and Stampendous Blog Hop! If you just came from Jamie Martin’s blog you are on the right track! If not, you may want to start at the beginning at the Tombow Blog!

House mouse chart IrojitenFor this hop, I started by making a new House-Mouse Color Chart using Tombow’s Irojiten Colored Pencils! All the super-cute mice from this very popular Stampendous collection are here! The Irojiten Colored Pencils are so easy to use and blend to add the colors, you will love them for the mice! Here are some cards I made using the House-Mouse Stamps and the Irojiten Colored Pencils. The paper stamped with the images is Mix Media paper from Canson, the decorative paper is ‘My Sunshine Stack’ from DCWV  and the solid colored cardstock from Bazzill.

IMG_3461This card used the ‘Knit Gift’ Stamp and features Amanda and Muzzy. I also used the ‘Friendship Assortment’ Stamp Set for the sentiments. The wool wrapped around the card was a nice extra touch. I love coloring Muzzy with the Irojiten Pencils, it’s fun to add long strike strokes to his fur to make him extra fuzzy! I used the new Xtreme Adhesive to attach the yarn wrapped panel to the card. Tombow’s Foam Tabs and Dots Adhesive was also used.

IMG_3462Isn’t this card cute? I loved coloring it! The stamp is ‘Balloon Trio’ from Stampendous and features Mudpie, Maxwell and Amanda. To make the shiny balloon embellishments, I glued flat clear marbles onto scraps of paper with Multi Liquid Glue. Let dry, cut them out and attach to the card with the Xtreme Adhesive. I also used the Dots Adhesive for the paper panels and added a bit of washi tape for added accent.

IMG_3463My final card was created using the ‘Warm Cup’ Stamp. Here little sweetie Mudpie relaxes in a nice warm mug. I followed the coloring theme and picked nice paper and embellishment colors to match. Again the Dots Adhesive holds the paper panels and a little drop of Multi Glue for the rhinestone.

We will have three lucky winners for this blog hop! The prize includes a Stampendous! Jumbo Cling Stamp, Jumbo Perfectly Clear Handle and a Retro 10 Dual Brush Pen Set!

Blog Hop_Stampendous
To be eligible to win, please comment on each of the designers projects  and don’t forget to “Like” the Stampendous! Facebook Page and “Like” the Tombow Facebook Page. If you don’t have a Facebook, still comment on the projects and Tombow will select someone to win a prize just for playing! Now onto Krissy Fossmeyer’s Blog to see what she has created for us!


Mellisa’s Spring Bling Challenge – Bath Salt Sachets March 10, 2014

Filed under: Uncategorized — mariebrowning @ 6:00 am
Tags: , , ,

IMG_3437

Mellisa’s challenge is “Spring Bling”, so I decided to use some beautiful Secret Garden cardstock from Graphic 45 and create some individual-use packages of fragrant bath salts! Mainly because my spring is still a little damp and cold and comfy, fragrant warm baths are still on my mind these days! Not only are these sachets a breeze to make, but very economical.

IMG_3439

Cut the May Flowers cardstock into 4” x 6” panels. You can make 6 sachets from one sheet of 12 x 12 cardstock! Cut out the Seed Fairy 1.25” x 2” labels.
Apply the Xtreme Adhesive to the long top and the two short sides of the large panel.

IMG_3440

Roll and adhere the paper panel into a long cylinder. The Xtreme is excellent for creating the sachets, it’s an instant strong bond that will not allow any salts from leaking out!

IMG_3441

Pinch the bottom closed and then fill the tube with 1/4 cup bath salts. Use a paper funnel so you don’t get any of the salts stuck to the adhesive.

IMG_3445

 Pinch the opposite side to close your package. Add the “Seed Fairy” label using the Xtreme.

IMG_3447

Use decorative scissors to trim the ends and a drop of Multi glue to attach a rhinestone for the bling!

IMG_3448

You can use bath salts from the store, or make your own! here’s how:

Bath Salts
1 cup Coarse Sea Salt
1 cup Epsom Salts
1 Tablespoon Liquid Glycerin
30 drops Fragrance oil
Measure and place the salts in a glass jar. Add the liquid glycerin, and fragrance oil to the jar. Place the lid on the jar and shake until all the salts are coated evenly with the glycerine and fragrance.
Here are some nice fragrance blends to match the project labels!
Daisy Fresh: 10 drops each lime, lemon and lavender
Effervescent Floral: 10 drops each Jasmine, Lavender and Violet
Luscious Lily: 10 drops each Lemongrass, Orange and Lavender
Rose Dream: 15 drops each rose and vanilla

IMG_3453

Bath Time!
Draw a warm bath and add one package of the fragrant salts to the running water. Hop in and relax, inhaling deeply to experience the soothing aromas and wait for spring!

Play along by adding your Spring Bling Project at Tombow’s blog  for a chance to win!

Melissa_SpringBling


Sweet Treats Hop with Tombow and Avery Elle February 14, 2014

“Rose are Red. Violets are blue. Sugar is sweet and this hop is too! We hope you are ready for some Lovely Ideas and Great Prizes this week from Tombow and Avery Elle. This Sweet Treats Hop is the perfect way to celebrate Valentine’s Day!! If you’re here from Maska Vanacker’s Blog, then you’re in the right place,  if not then you may want to start at the beginning.
Comment on all the Designers’ projects for your chance to win prizes you are guaranteed to fall in love with! One lucky winner will get BOTH a $50 Gift certificate from Avery Elle and $50 worth of Tombow Adhesive! IMG_3383I was inspired by Avery Elle’s Stamps and decided to create this cute container to hold those yummy French Macarons. IMG_3388 IMG_3387Start by gathering your materials. From Avery Elle we have the Bonjour Clear Stamp Set, and the matching Bonjour Die. I also used some pink butcher twine and mini pompom trim. From Tombow I used Two Pink Dual Brush Pens, Foam Tabs, Power Tabs, Mono Multi Liquid Glue and the new Xtreme Adhesive. IMG_3386Here are the sizes of paper to make a container that fits 4 macarons perfectly! One 6.5″ x 4″ for the container (to make a container to fit more macarons, add 1″ for each additional cookie!) Two 1.5″ x 7″ (score in half and cut slits) and four 2″ circles for the bottom and lid pieces. A rosette cut from coordinating decorative paper is also used to decorate the lid. IMG_3389Using Avery Elle’s Bonjour Set, stamp, color the motifs using the Dual Brush Pens, and then cut out using the Bonjour Die. IMG_3390Use the Xtreme Adhesive to form the cylinder and the two ends. Xtreme is super strong and holds heavier paper together beautifully! With the Xtreme, make sure to swipe to the side  before lifting for perfect cuts! The rosette was created using a rosette die, Mono Multi Liquid Glue and two Power Tabs. I also used the Multi Glue to add glitter around the edge of the rosette.IMG_3385To add the pompom trim, apply the Mono Multi Liquid Glue, let it dry clear and sticky, and then add the trim for a super hold with no mess! Use Power Tabs and Foam Tabs to add your embellishments and finish your container! bloghop_averyelleTo be eligible to win, please comment on each of the designers projects  and don’t forget to “Like” the Avery Elle Facebook Page and “Like” the Tombow Facebook Page. If you don’t have  Facebook, still comment on the projects and Tombow will select someone to win a prize just for playing!